Monkeypox Data Pipeline Using Azure
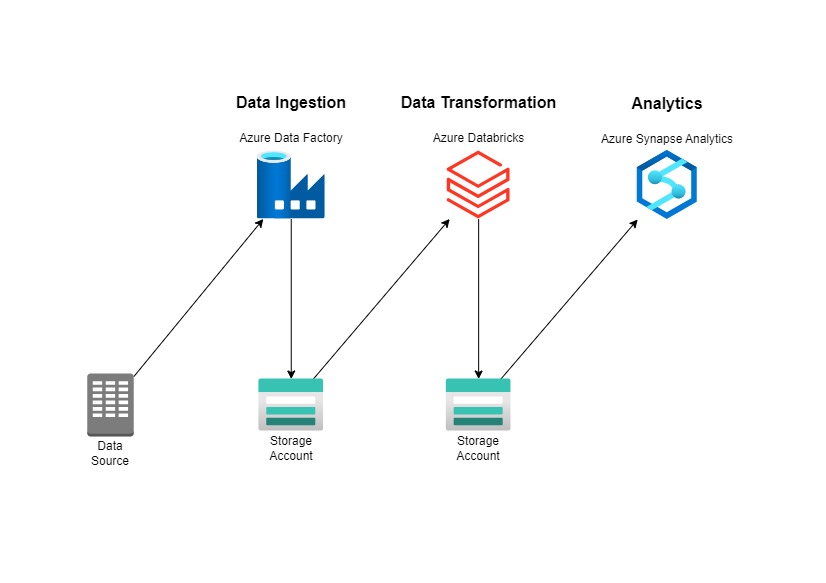
The goal is want to put Monkeypox Data into a good data warehouse and data pipeline. Here on the left side is the architecture. We take the data from Outworld in Data, here is the link https://github.com/owid/monkeypox/blob/main/owid-monkeypox-data.csv . Actually, Azure Data Factory, Azure Databricks, and Azure Synapse Analytics can replace each other, but in this case just want to use all of these to give a clear picture of each tools/resources.
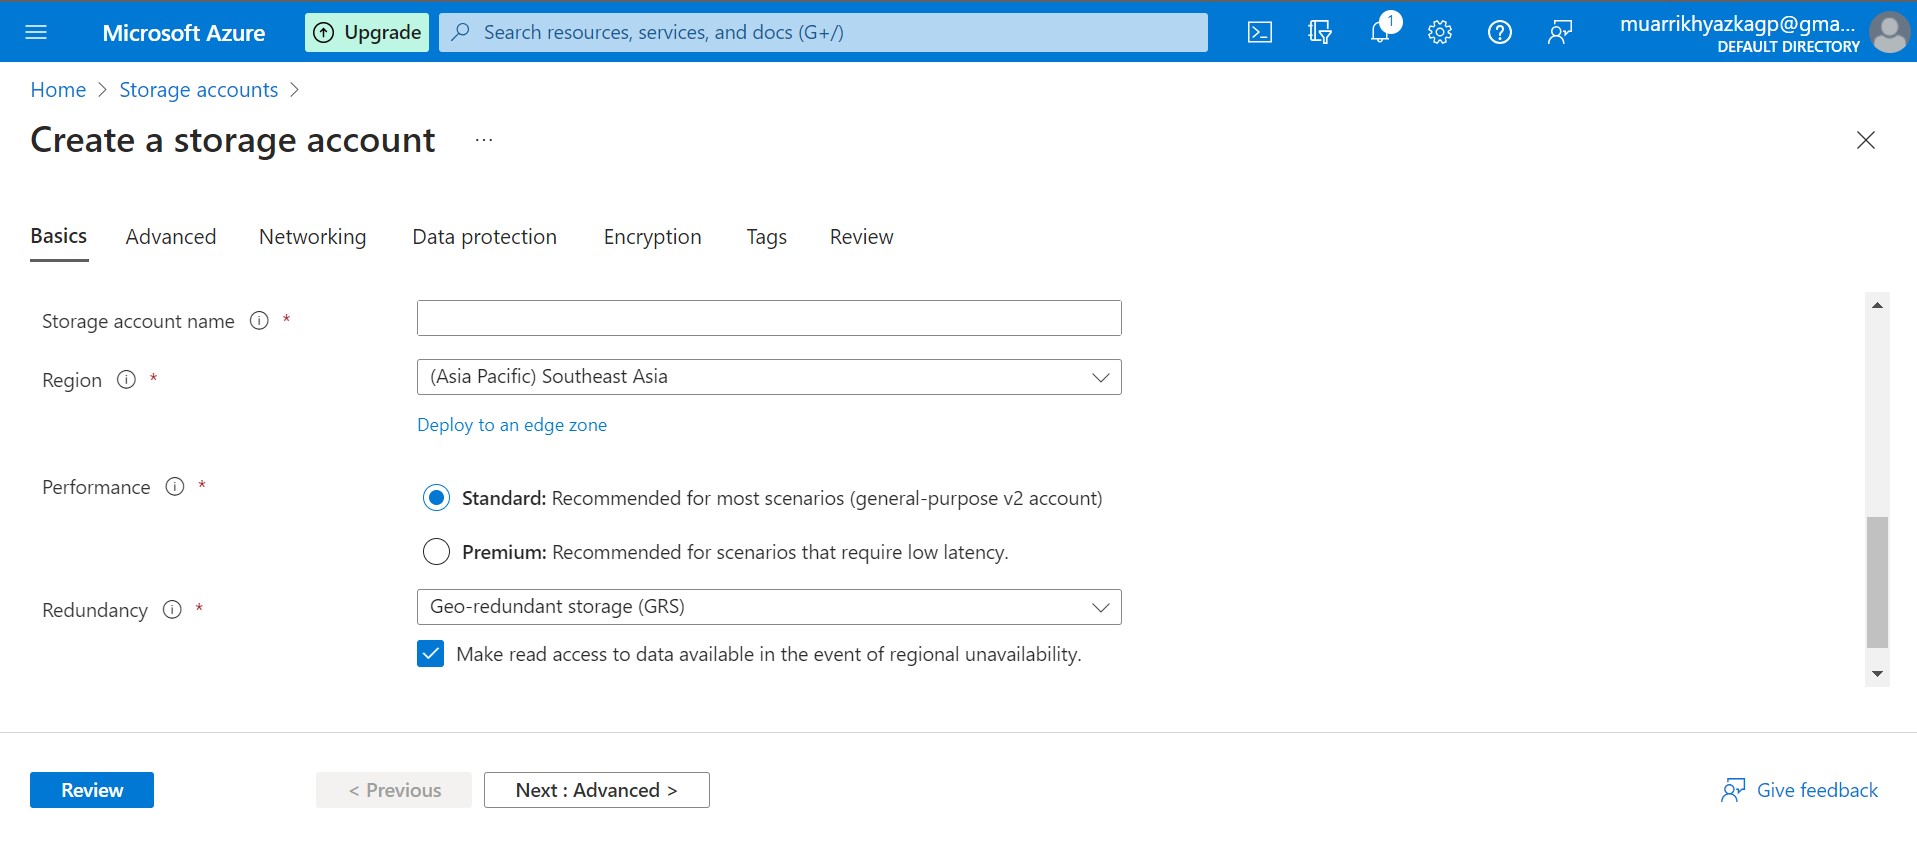
First of all, we should create a data lake using storage account in Azure. You can type it on search bar on top. Just leave any configuration in default, you only change the region which near with you.
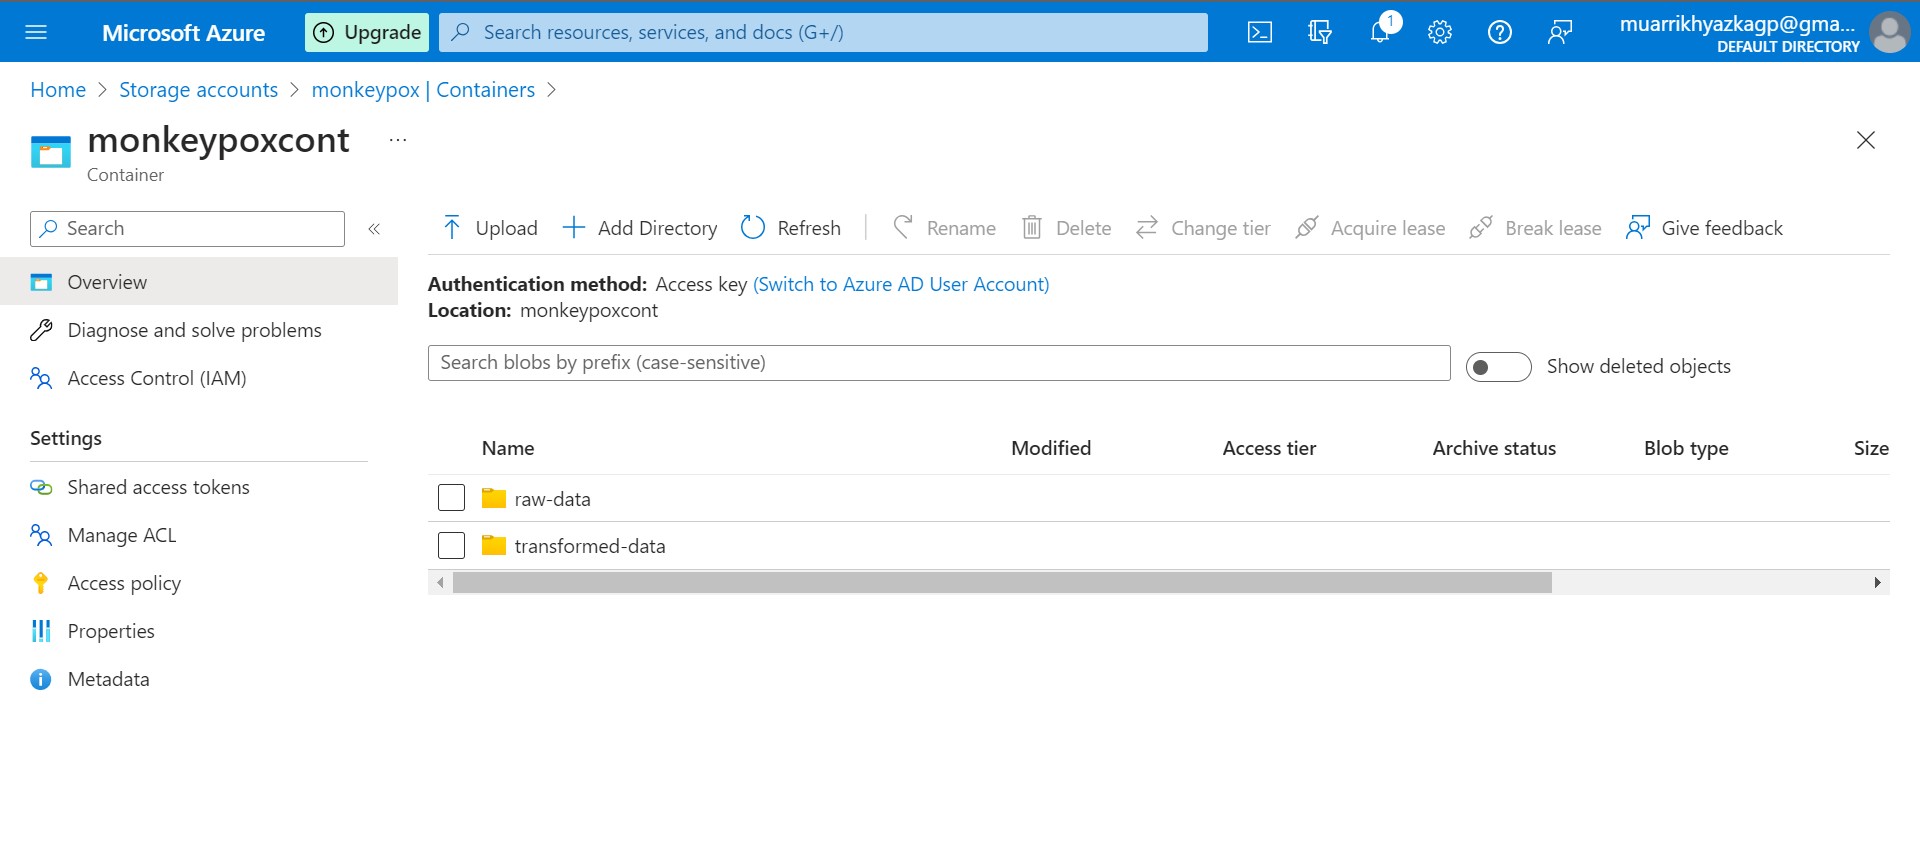
Create container and directory folder
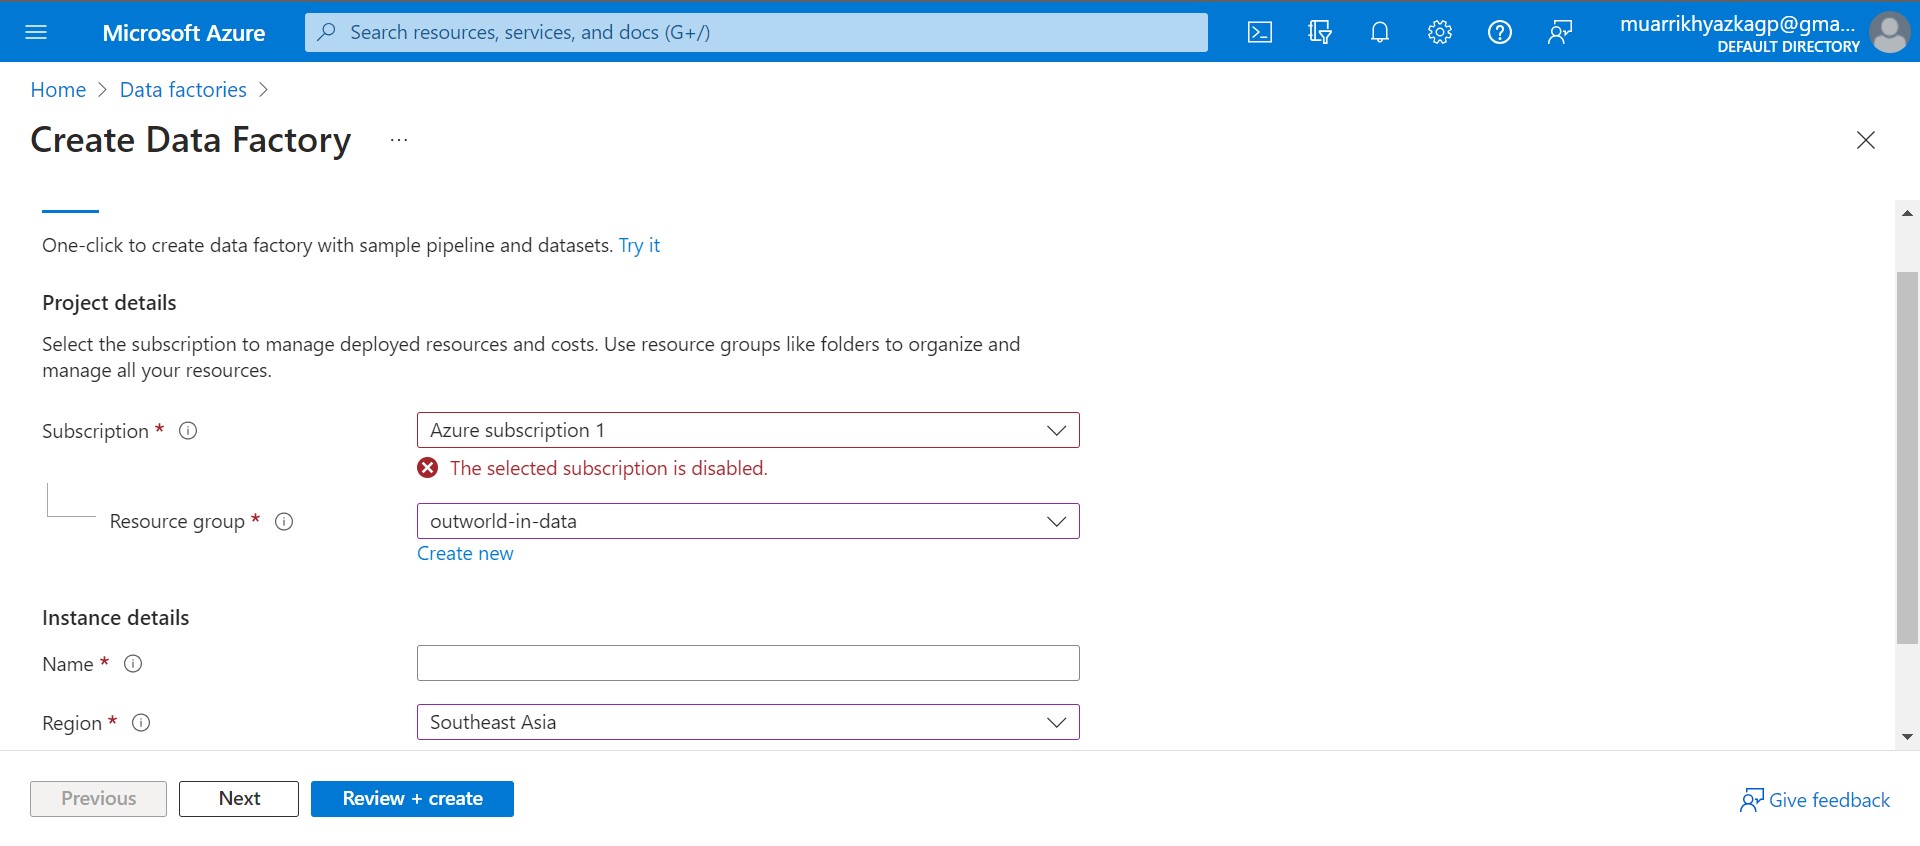
Next, we should create azure data factory. Its same with the way we create storage account. Make sure the region is same with storage account region. I will make azure data factory short with adf.
Launch Azure Data Factory Studio. Choose azure active directory, subscription, and adf.
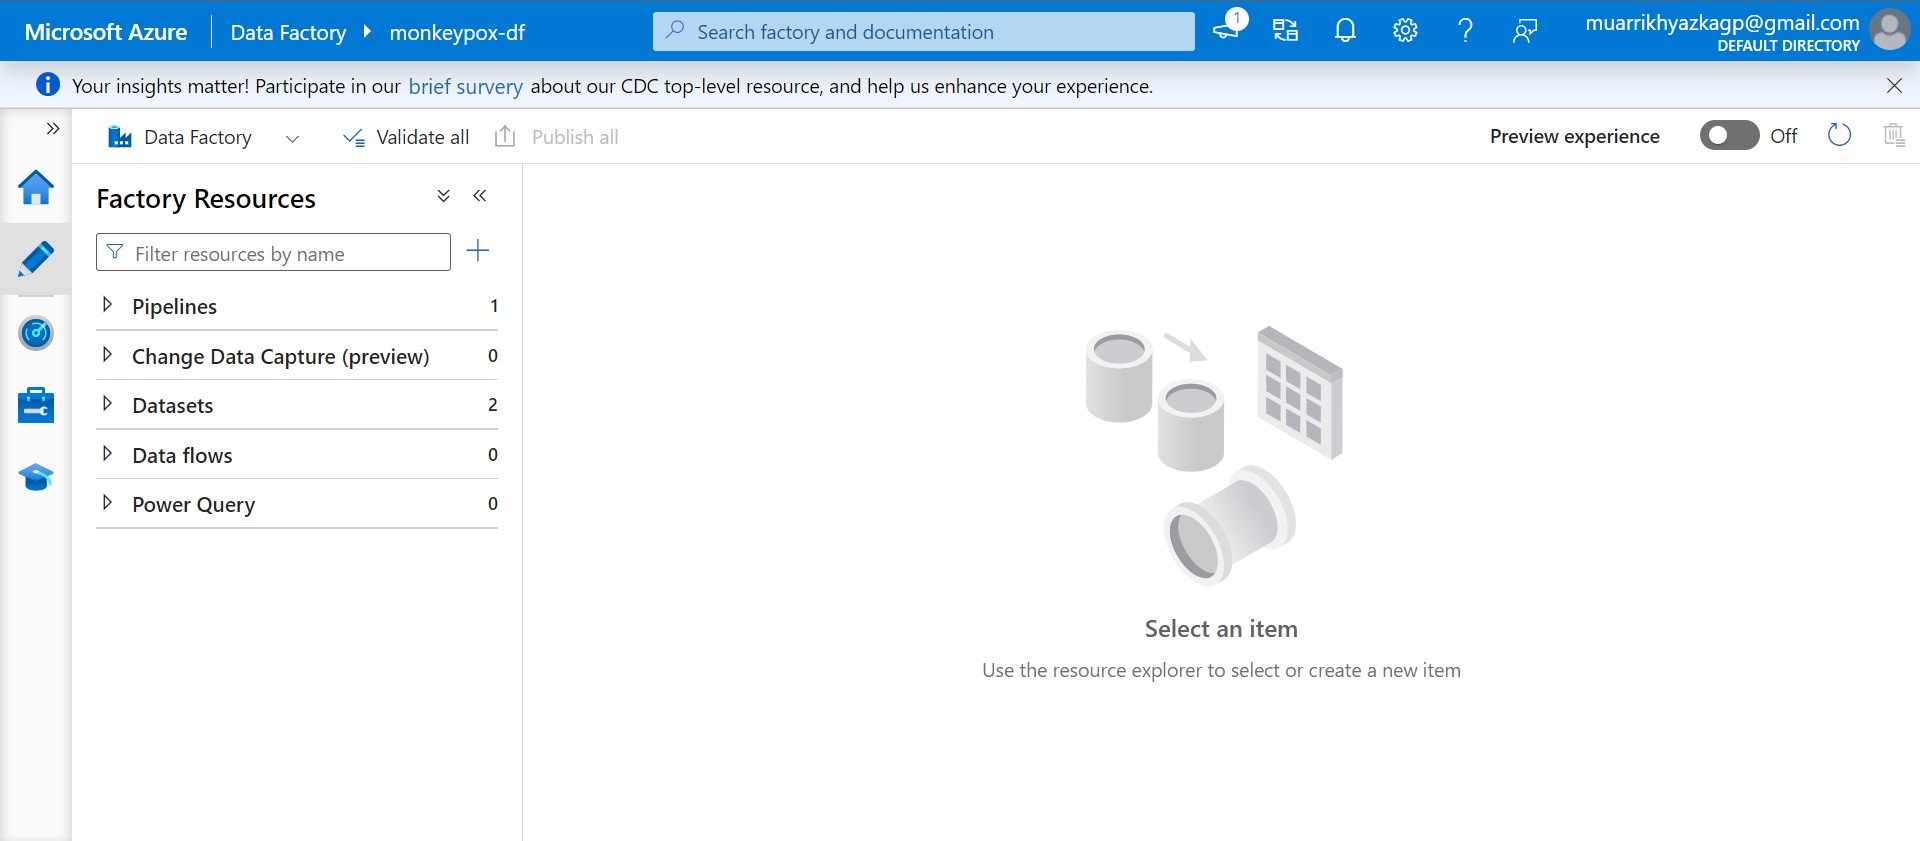
Click Author menu on the left side. Click plus (+) icon and choose pipeline.

Basically pipeline that we need is migrating the data from external server into our data lake. Lets move to the steps. Find 'copy data' on activity bar, click and drag it into the workspace. Complete any configurations on the bottom side. Store the data on our container inside raw-data folder. After that click Publish All on blue button.

We have done the pipeline. Next, we should set schedule when this pipeline running. You can set it on add trigger button > New/Edit. Because I only need to run it one time, so I just use Trigger Now feature to run the pipeline once at rigth now.

Voila! We can see the data that we need now is already on our data lake storage, it means the pipeline running succesfully.
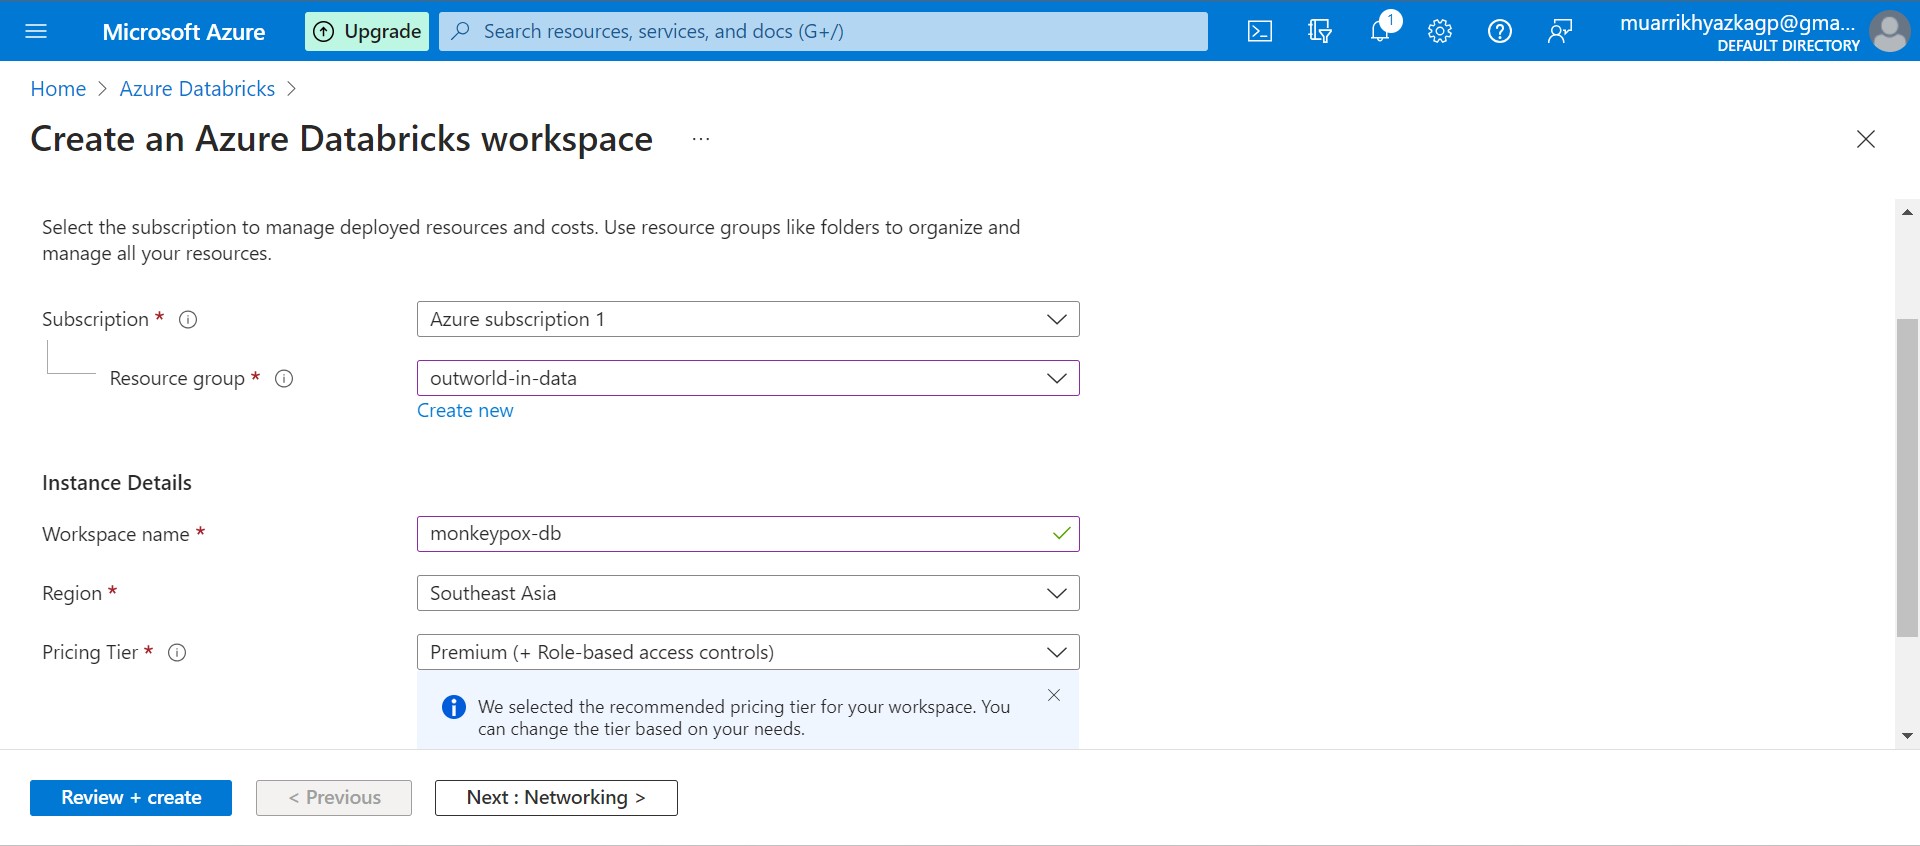
Next phase, we will do transformation using Azure Databricks. First, we should create databricks. Its same with the way we create storage account and adf. Just make sure it has the same region as well.
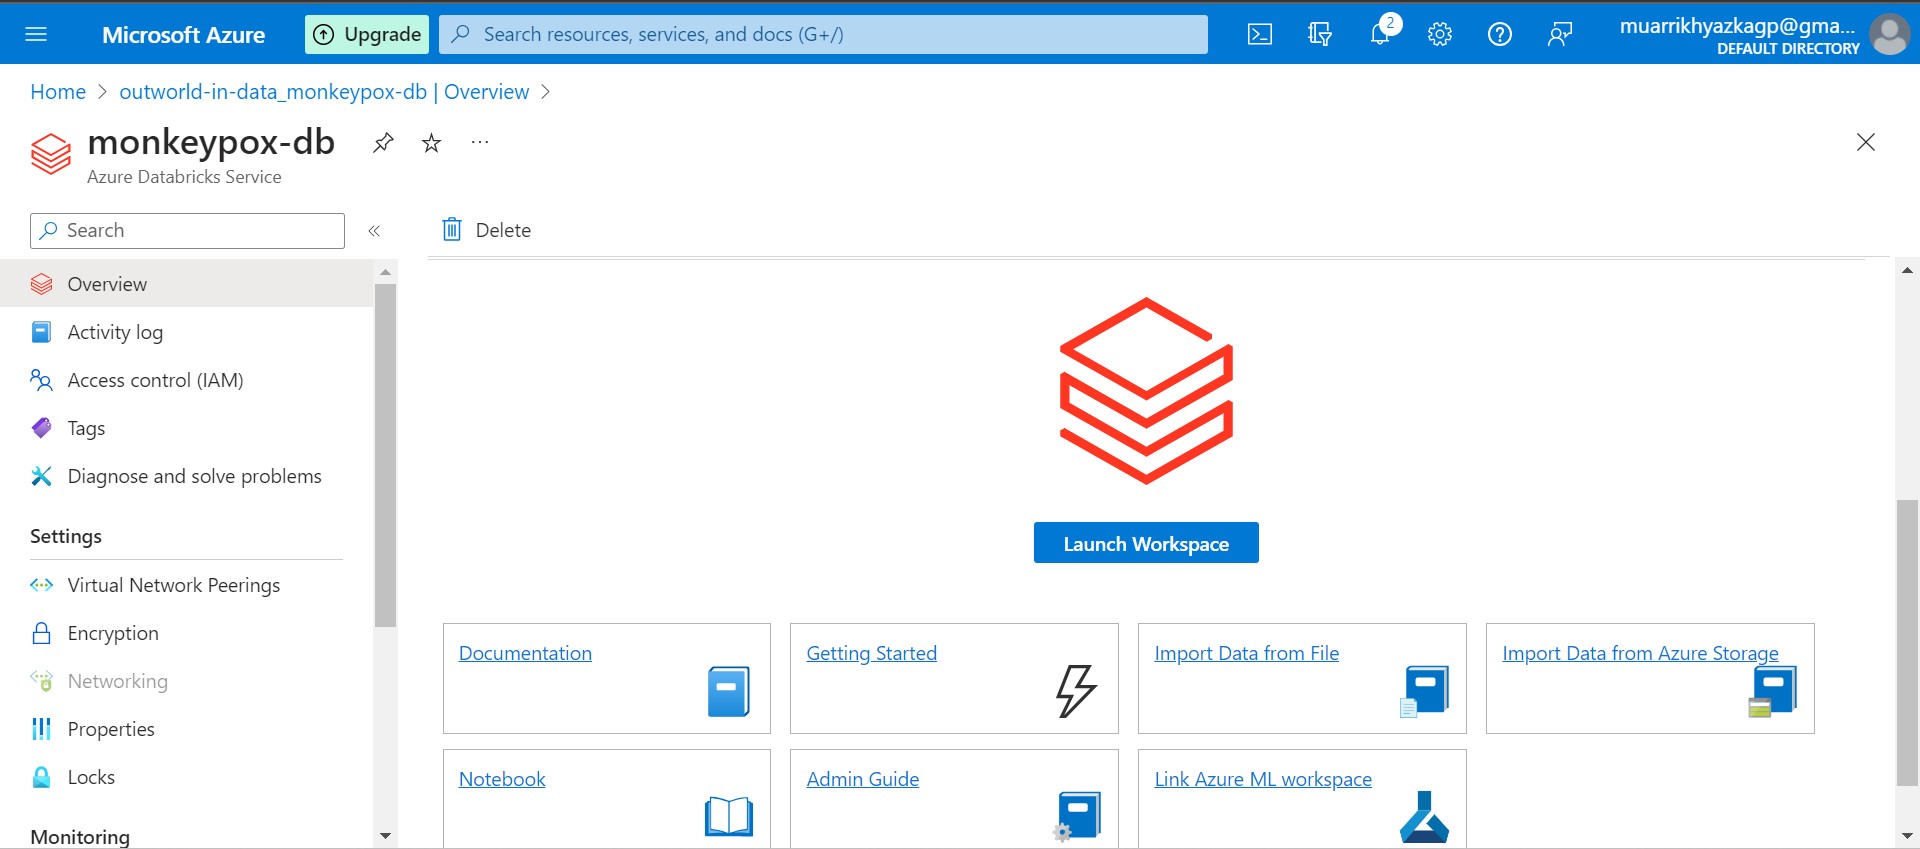
Launch the workspace then.
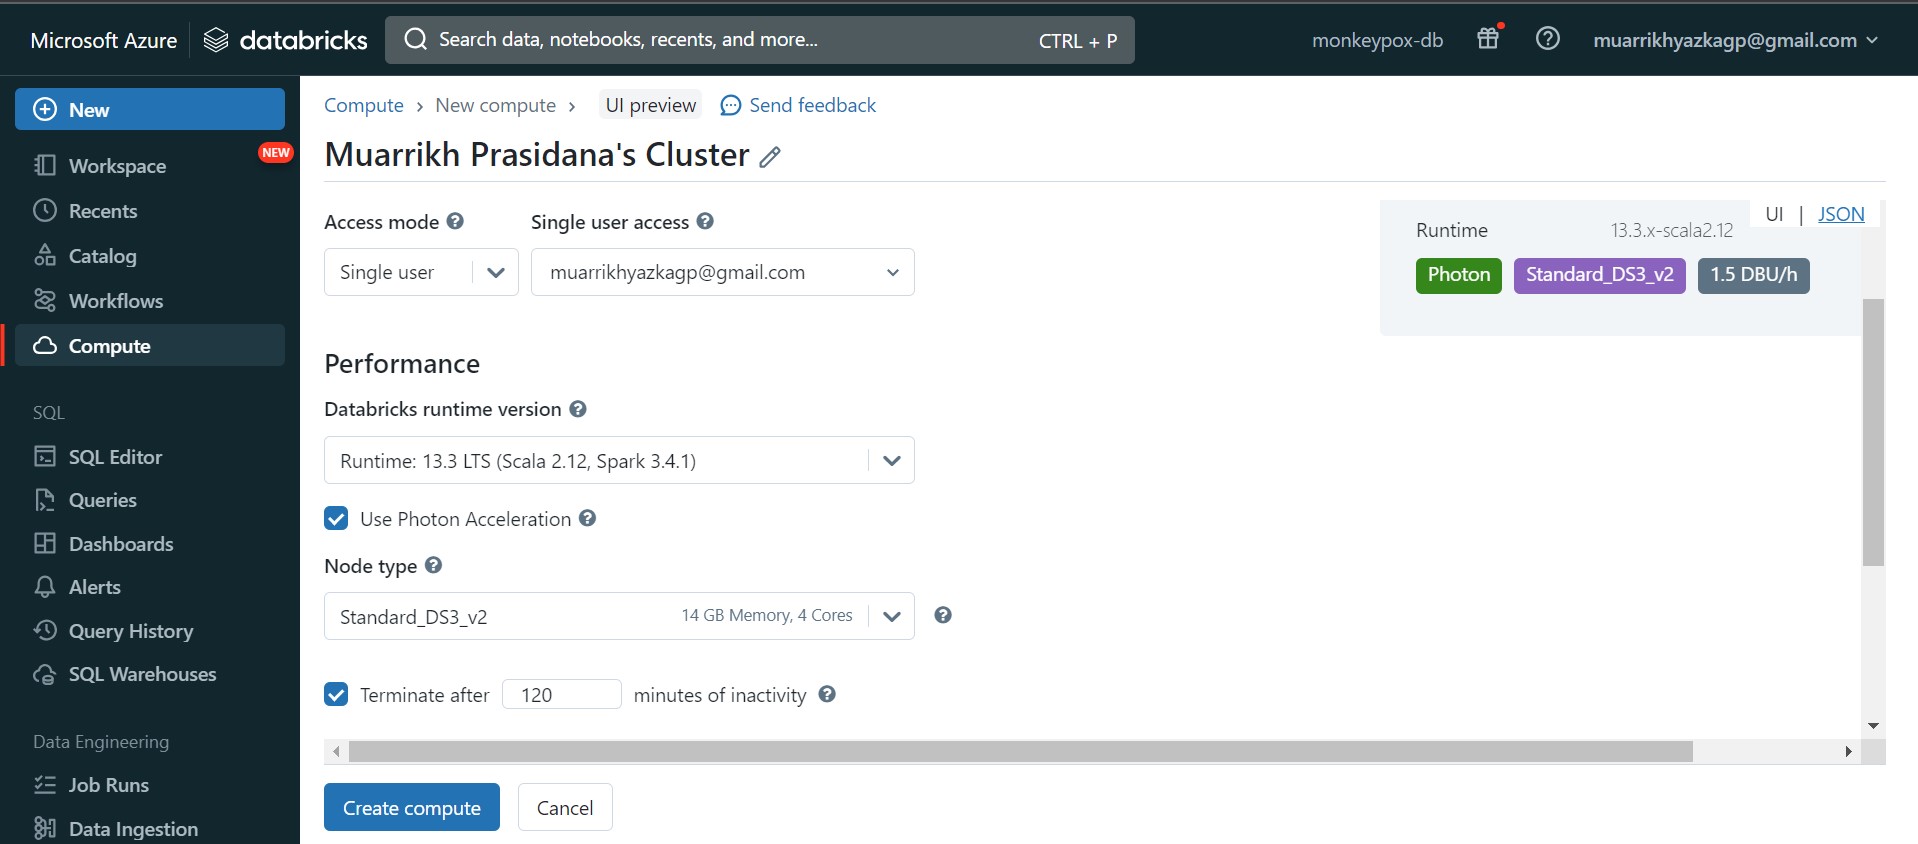
Just a little bit explanation, in databricks we will use Apache Spark Computation. So we need to set how much parallel computing we need and other configuration in the machine. Go to compute and create new compute. Set the configuration and Click Create compute button.
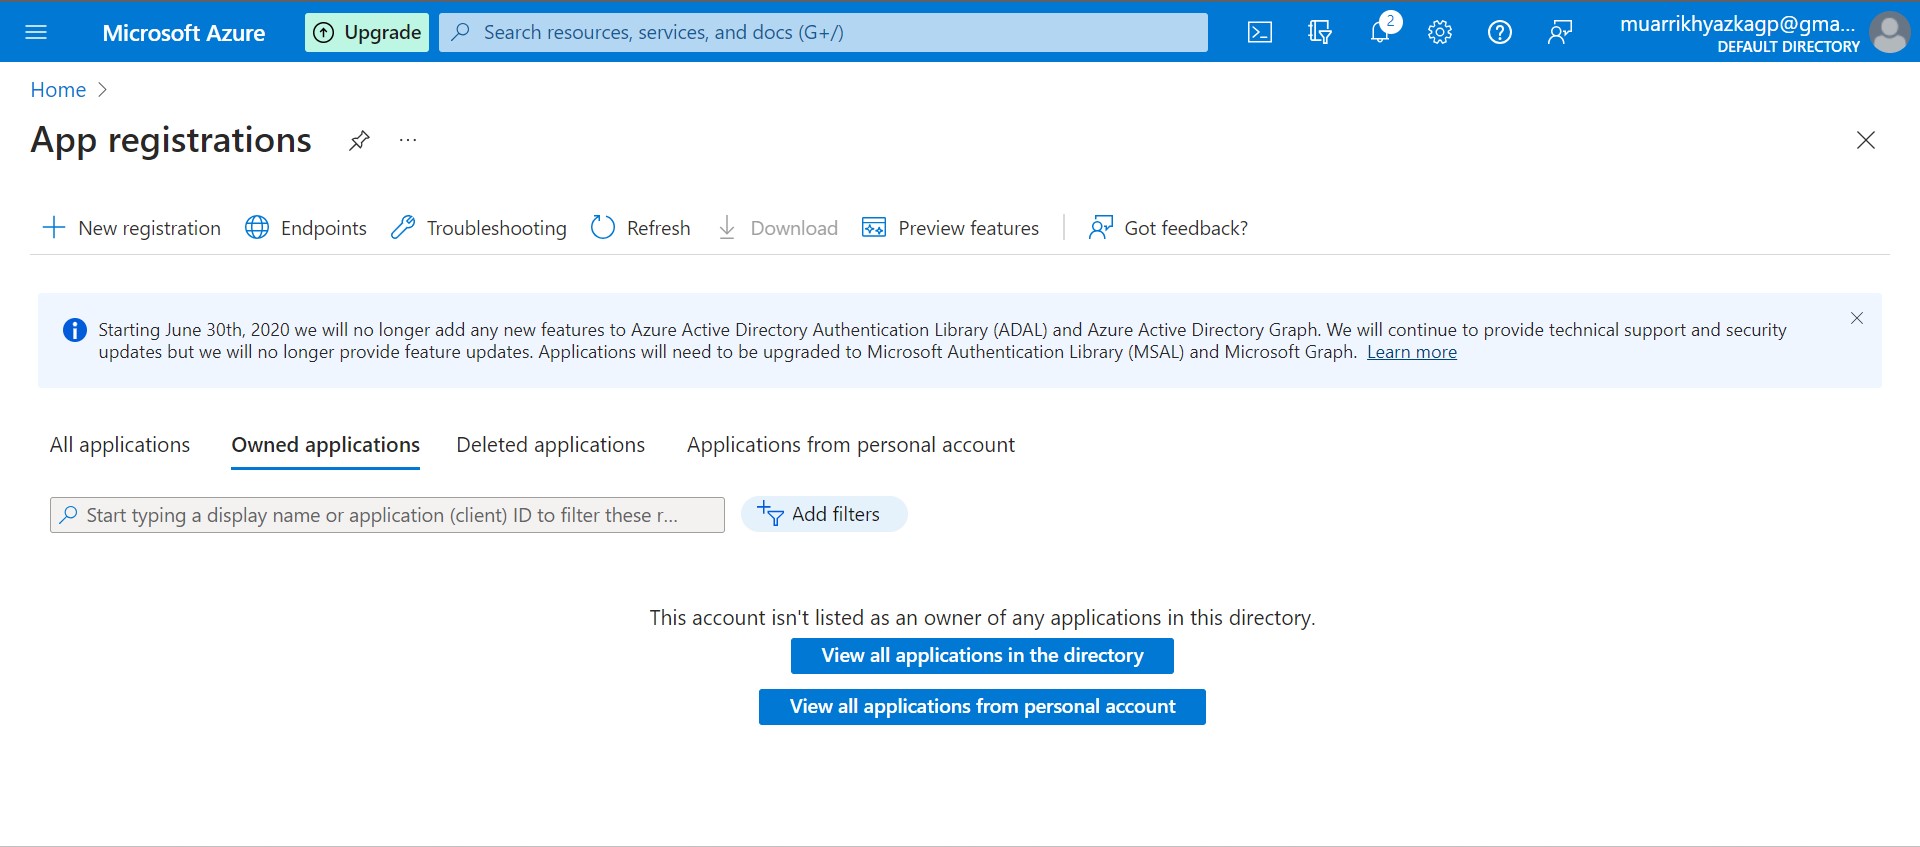
I forgot, We need to create connection between Storage Account and Azure Databricks. We should create app as connection and key vault to store any credential needed to access storage account.
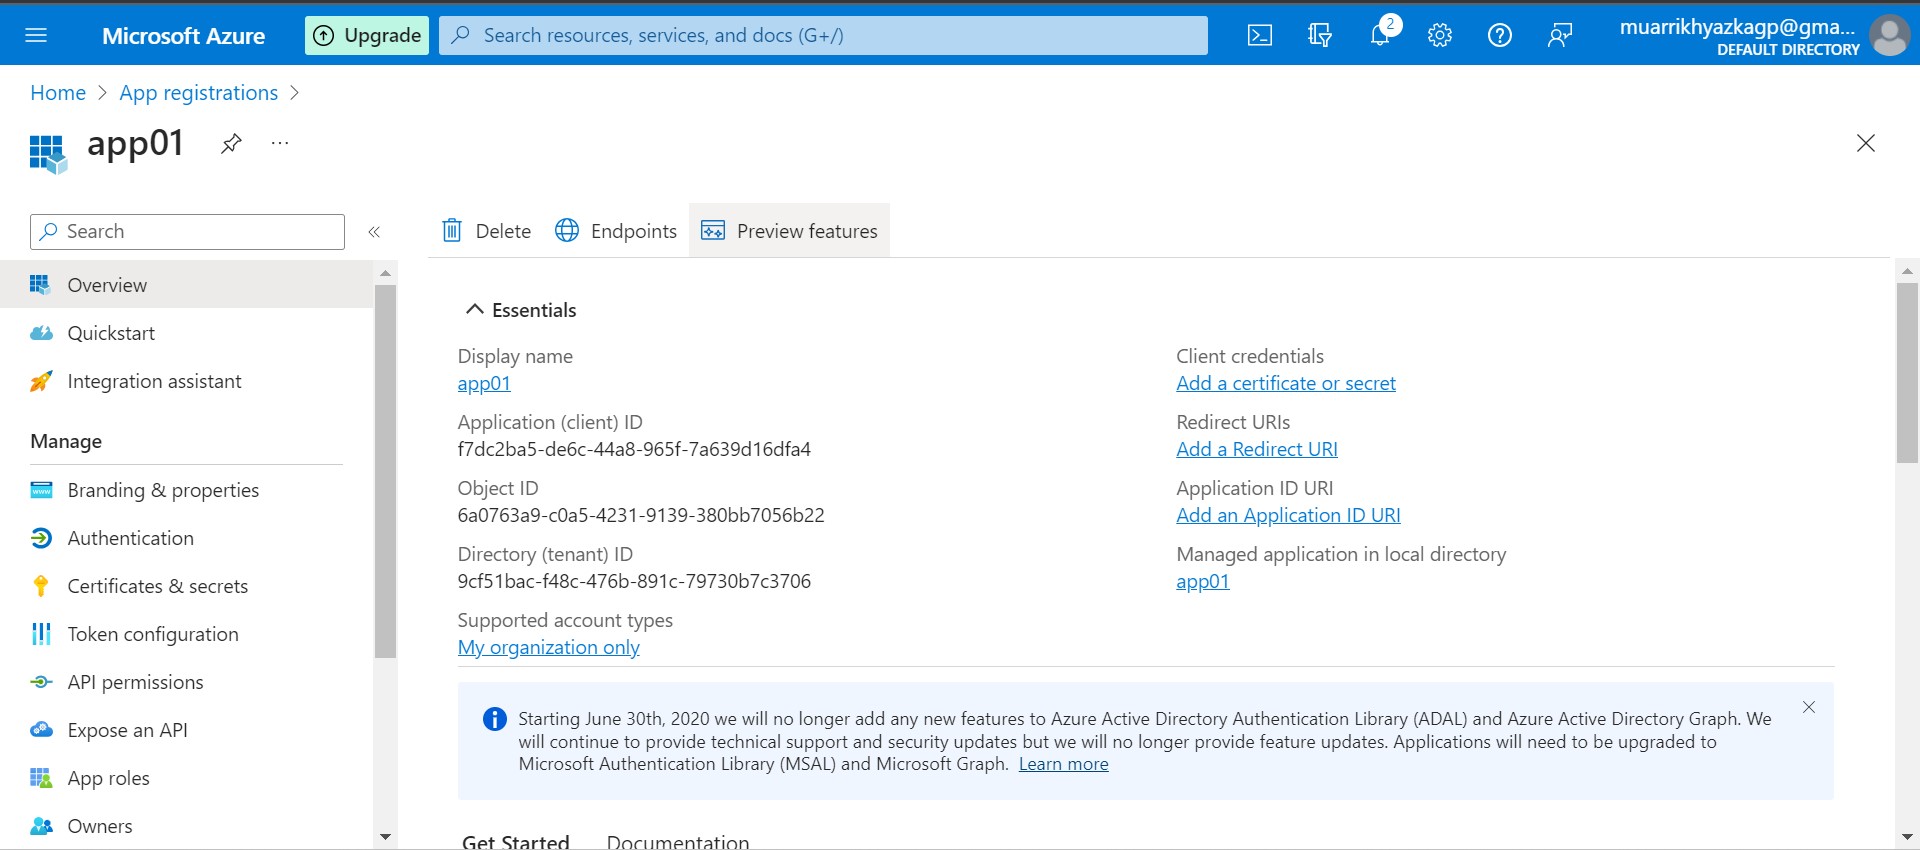
Go to the app resource that we've created. On overview tab, there are some information that we need to keep, you can save it on notepad or your code editor, just copy paste. The information that need to kepp are Application (client) ID and Directory (tenant) ID. One important thing, we should grant access to this app on Storage Account and Azure Databricks as well.
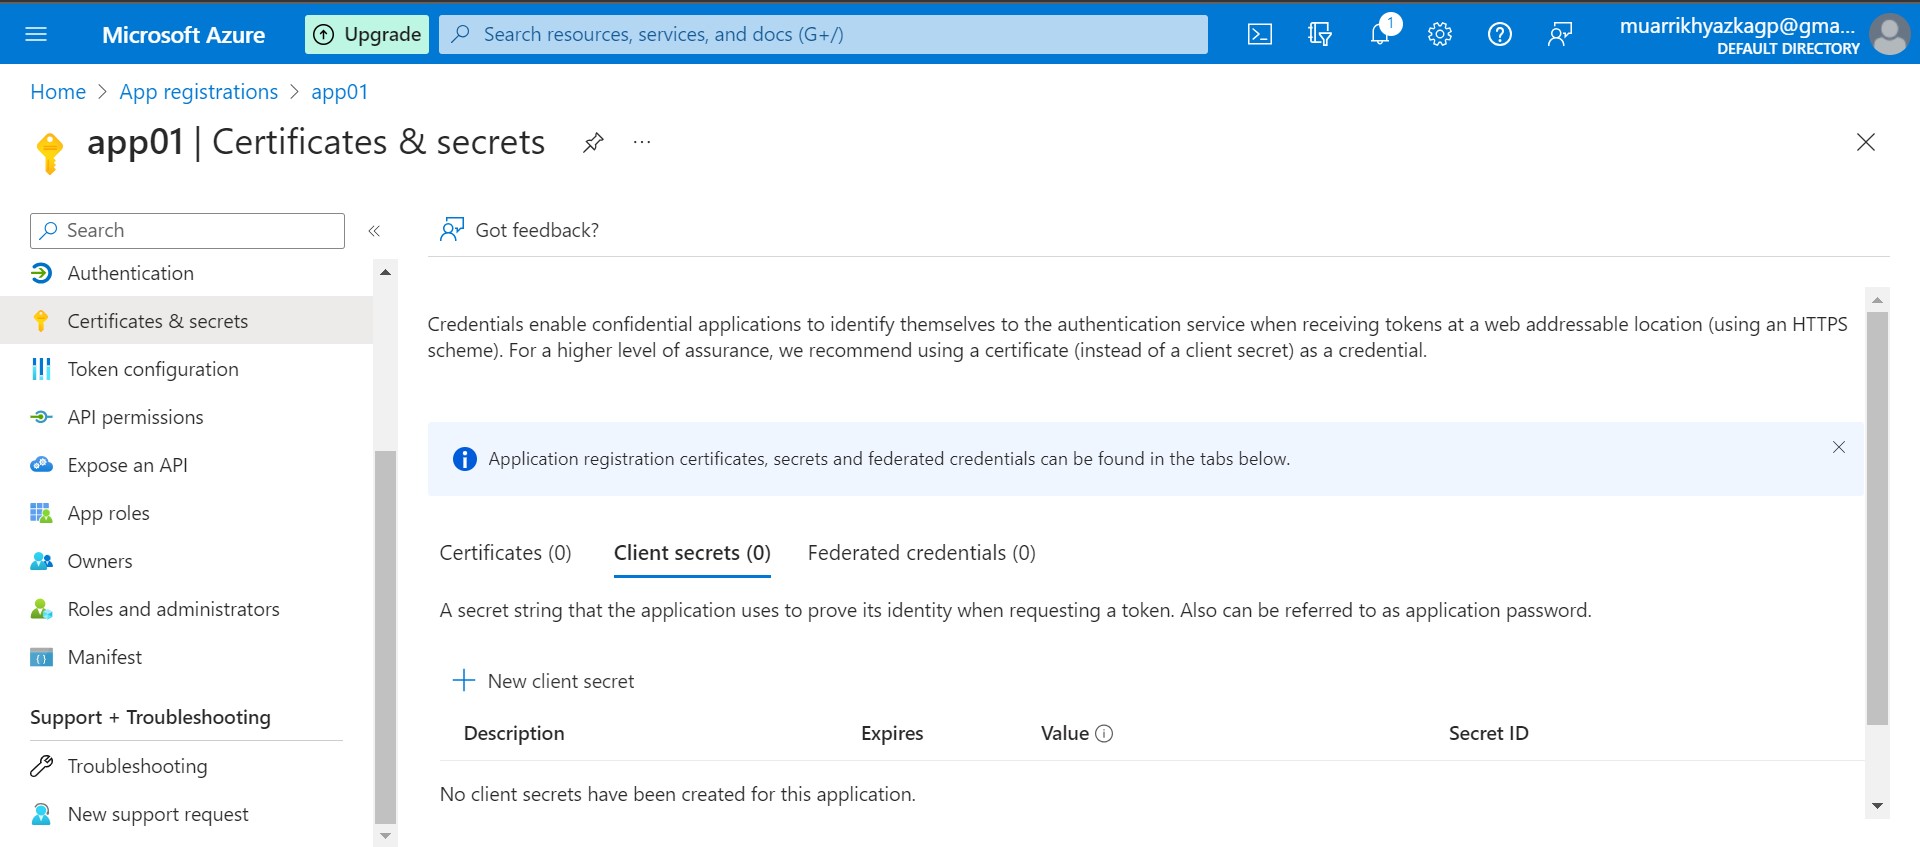
Stil on app, move to Certificates & secrets tab. In here we will create secret key, just name it secretkey on description and leave other configuration as default.
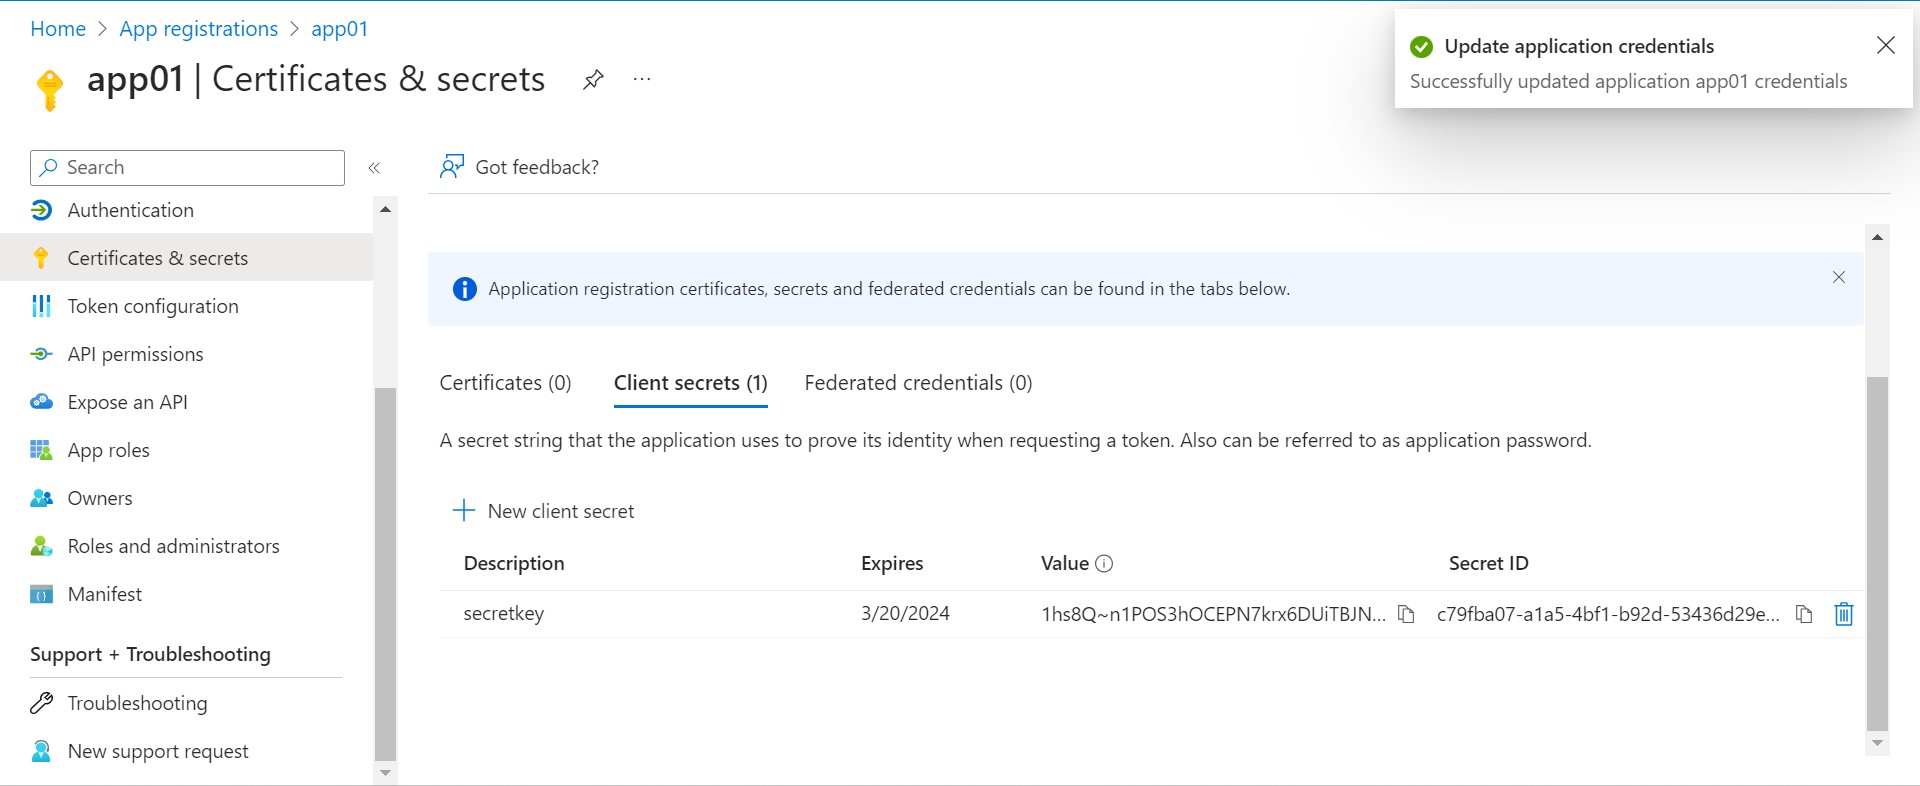
After secret key created, save the secret ID and paste it on notepad or code editor.
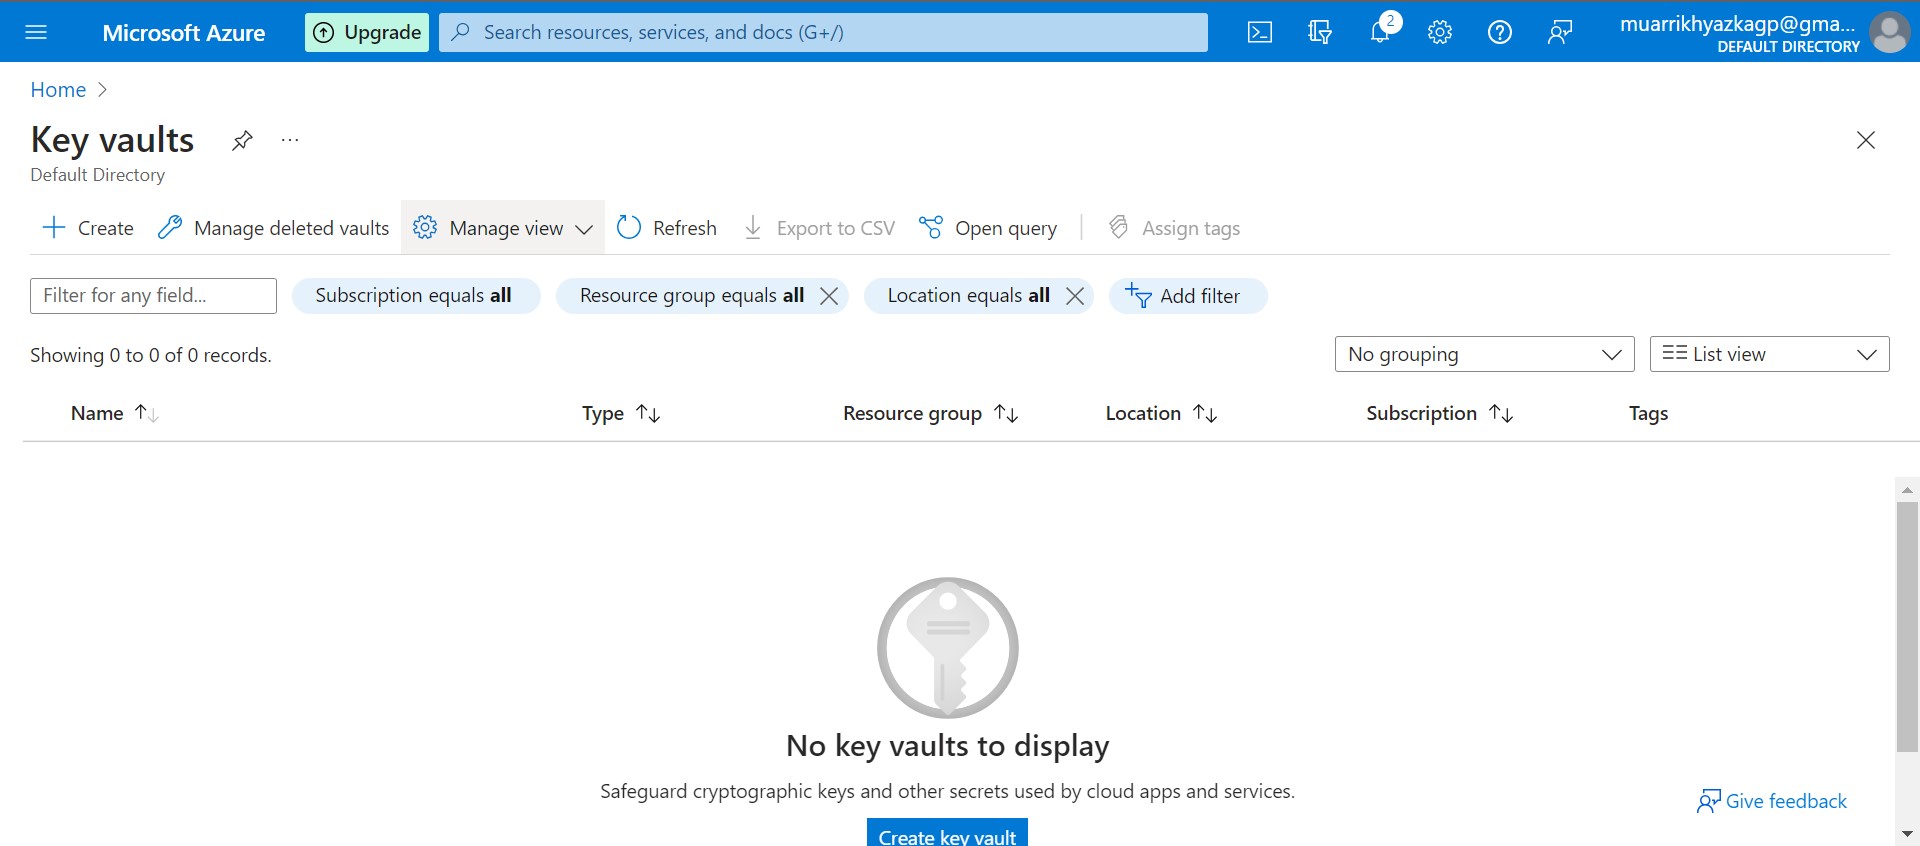
We will use all information that we've saved on databricks. But everyone who can access databricks can see that sensitive information if we only hardcode it on the notebook. So we need to secure that sensitive information and also we need to able to use that information in our notebook. For that objective, we need one resource/service that provided by Azure called Key Vault.
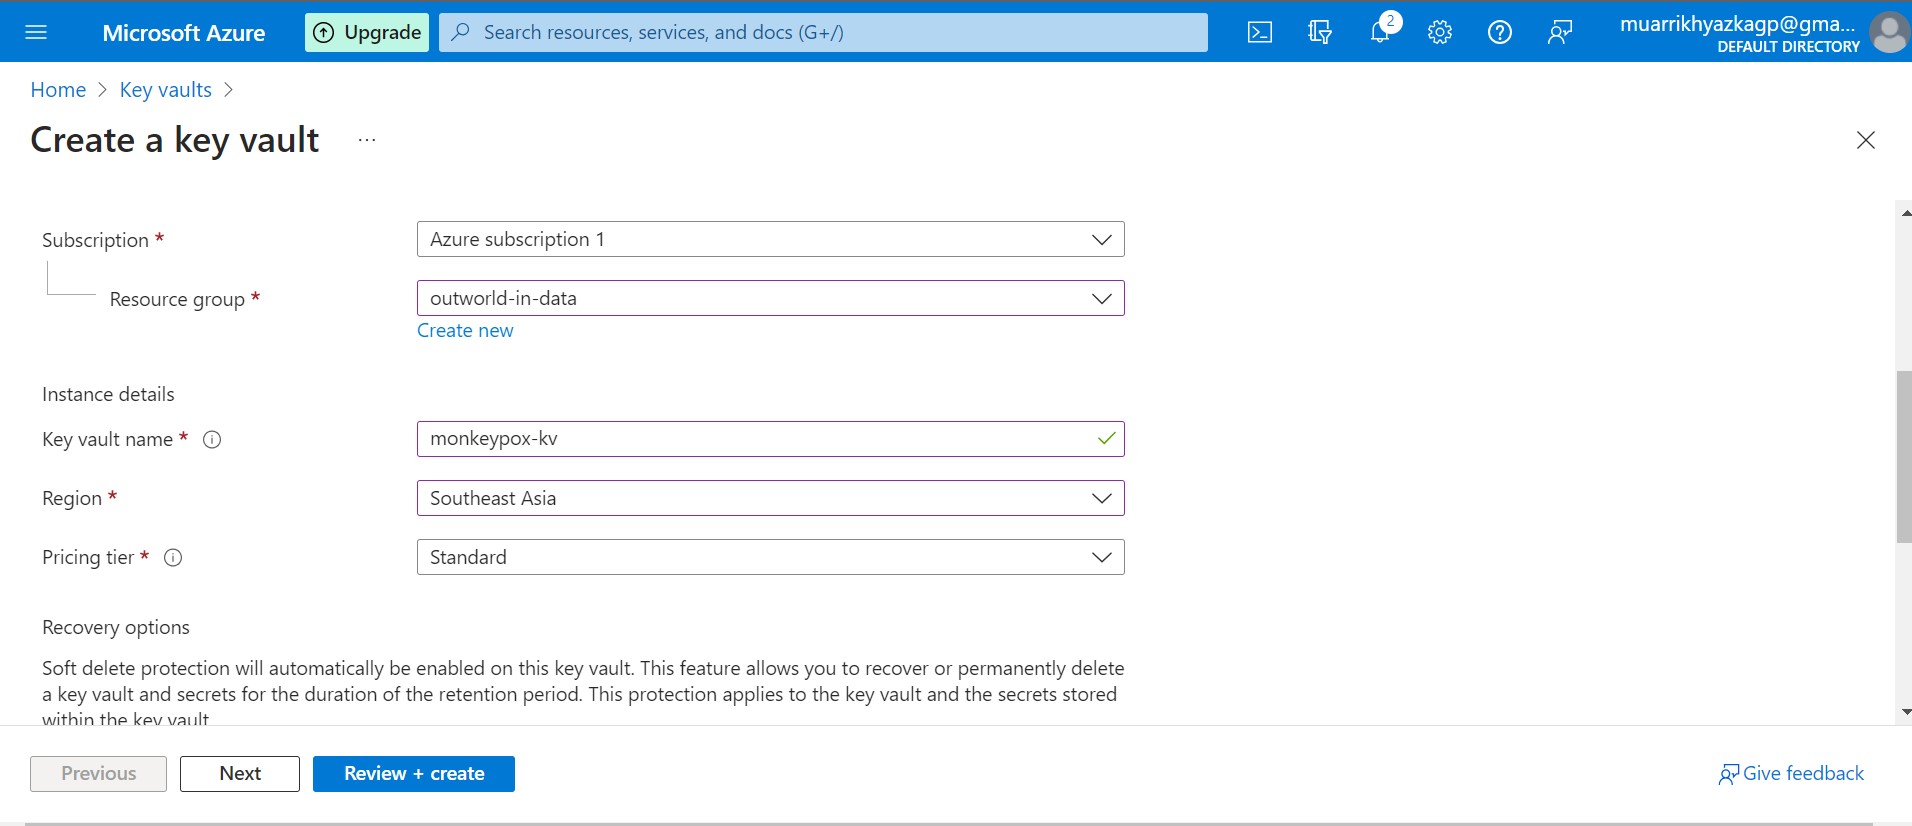
First, we should create Key Vault resource. Its same with the way we create storage account, adf, and databrticks. Just make sure it has the same region as well. After that we create a key vault, just leave any configuration as default.
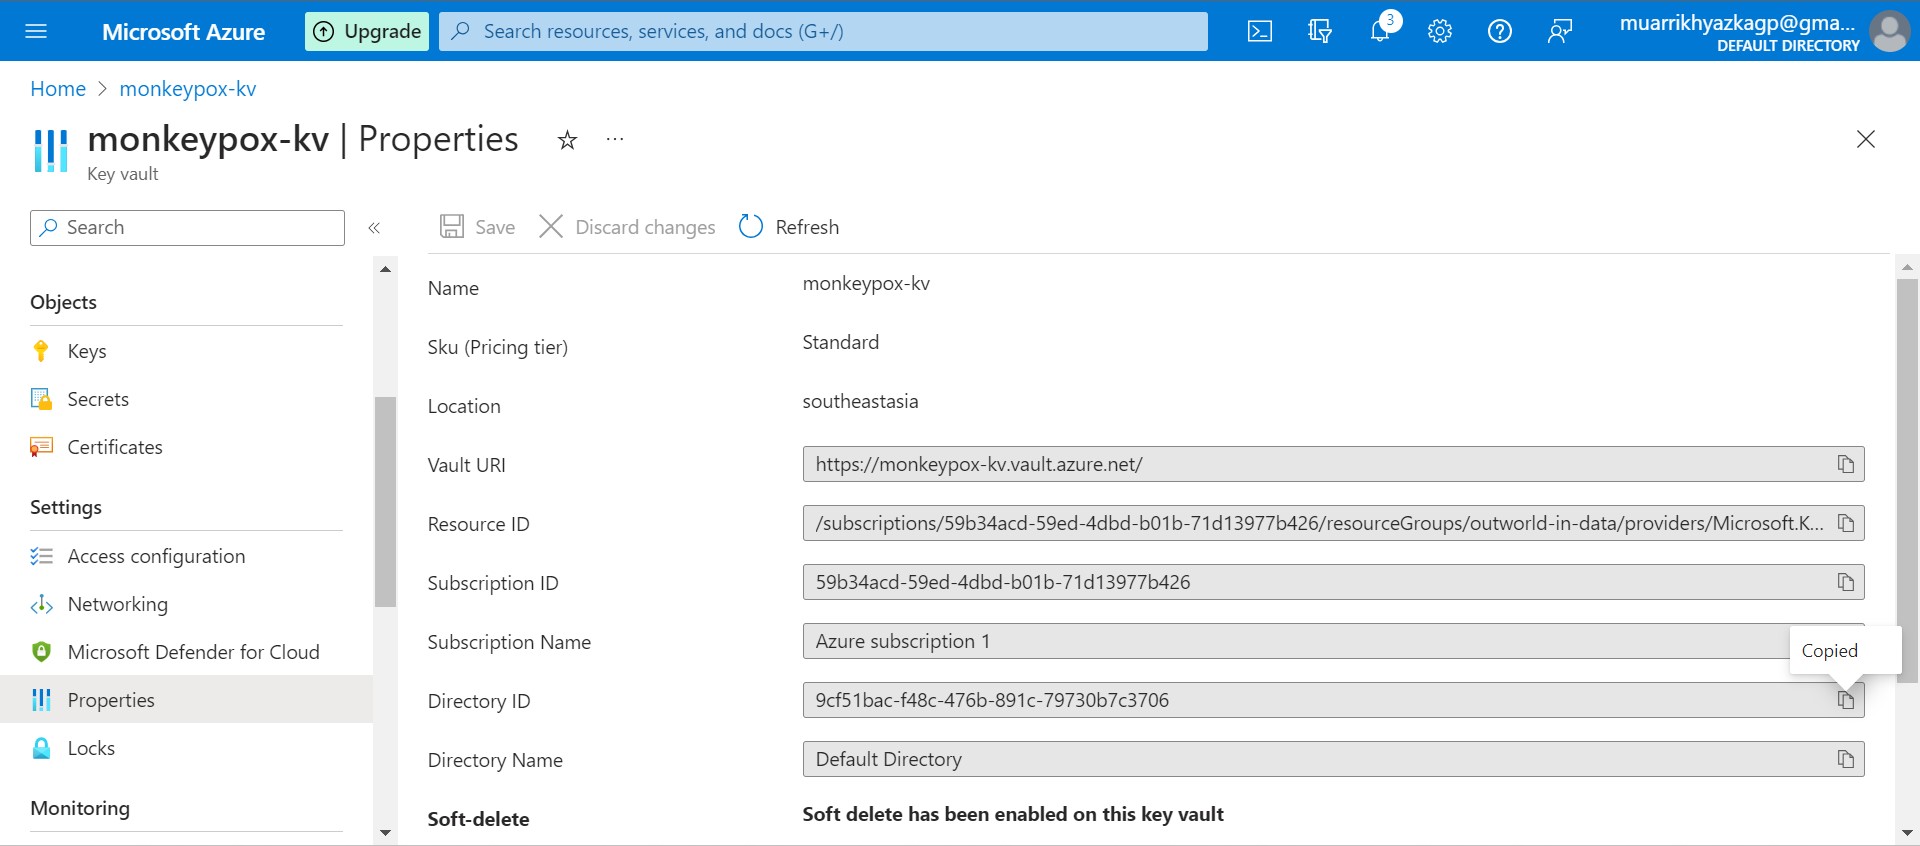
Keep Vault URI and Directory ID on your notepad or code editor, it will be needed in the future.
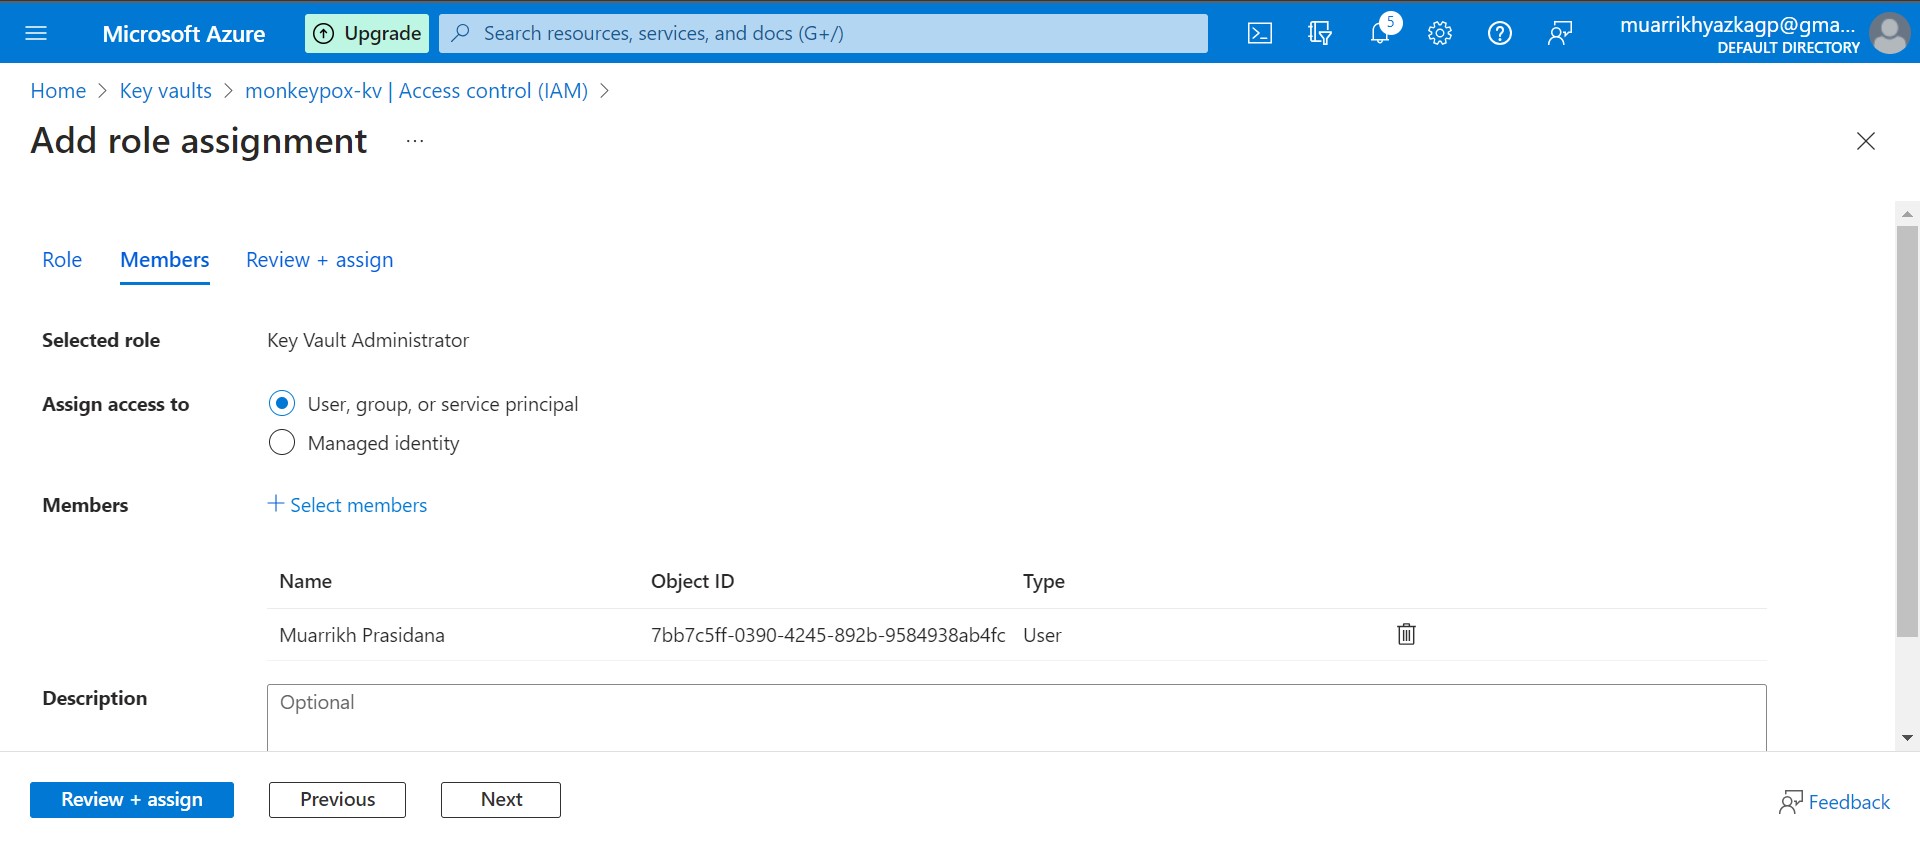
Move to Access Control (IAM) tab. Grant your access as Key Vault Administrator and app that we've created previously as Contributor.
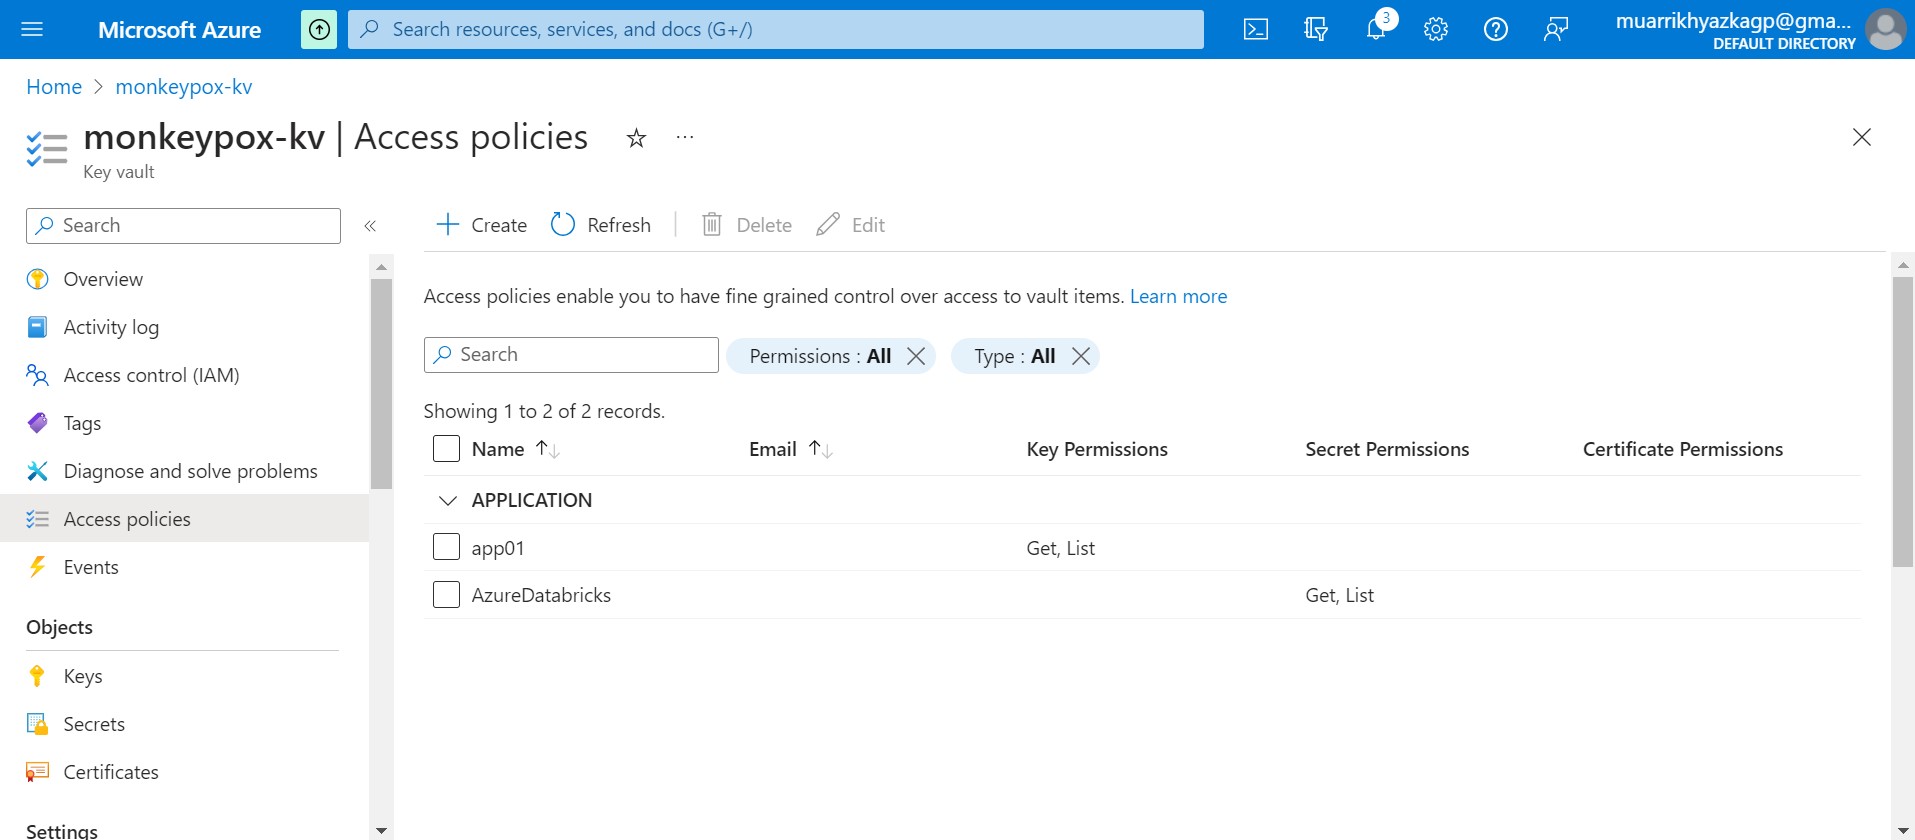
Move to Access Policies tab. Grant Key Permissions to the app and Secret Permissions to Azure Databricks.
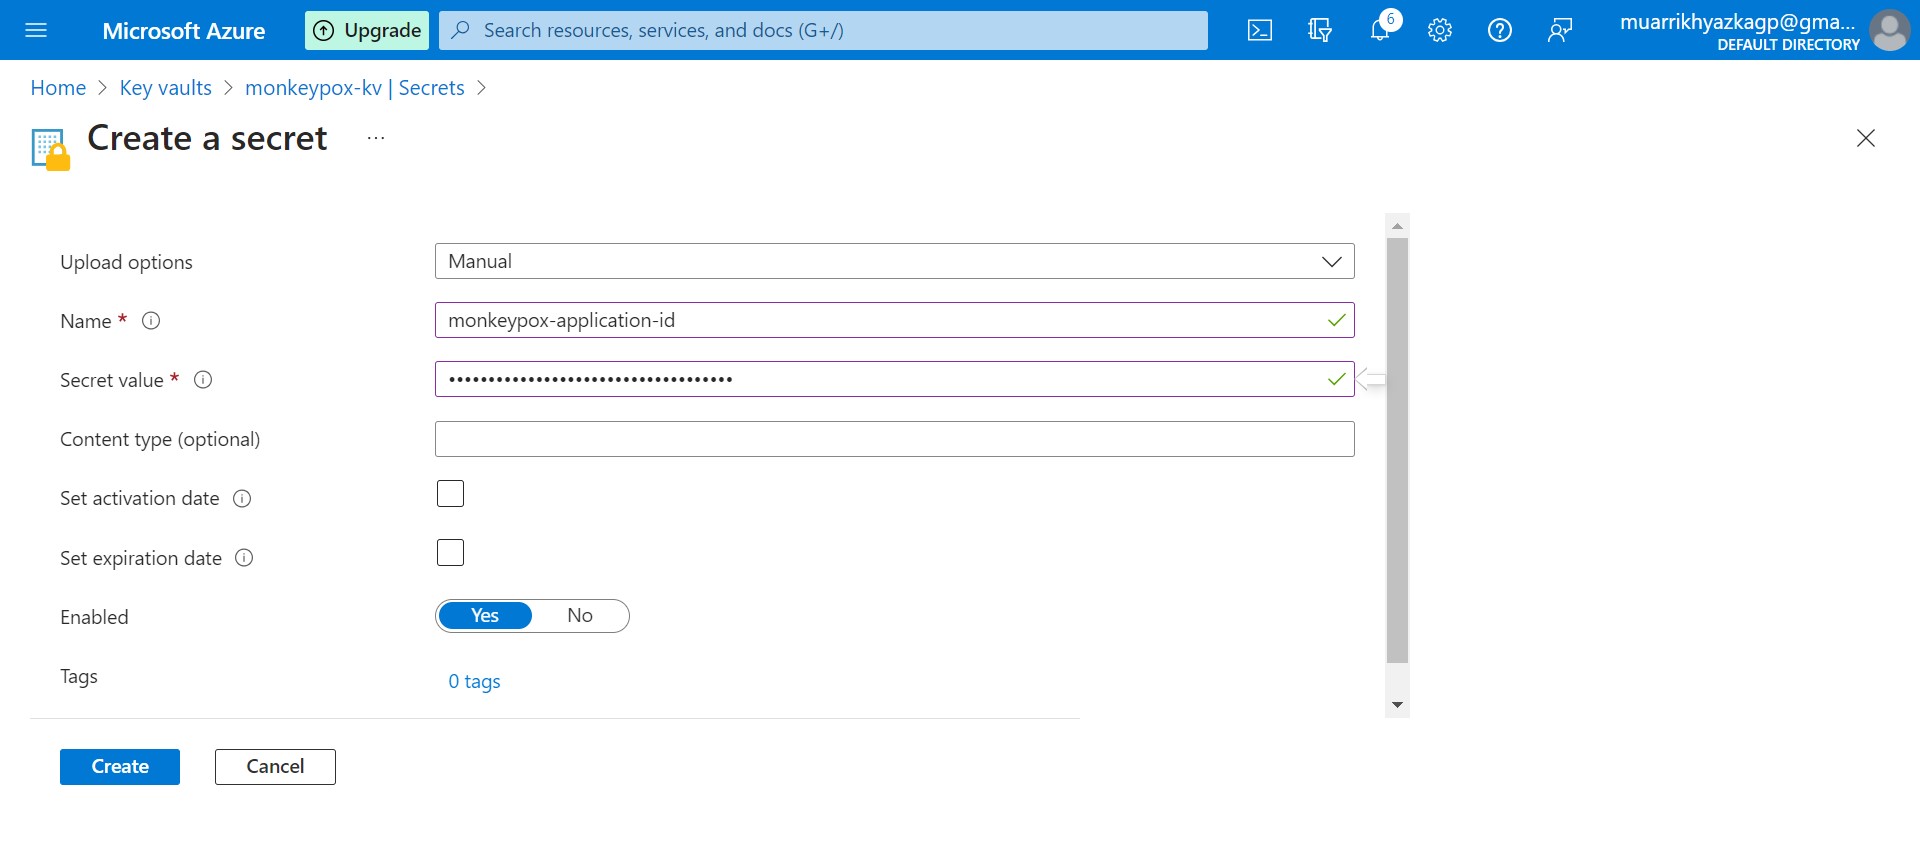
Move to secret tab and create it. Name it up to you and put any key and id on your notepad or code editor on secret value box.
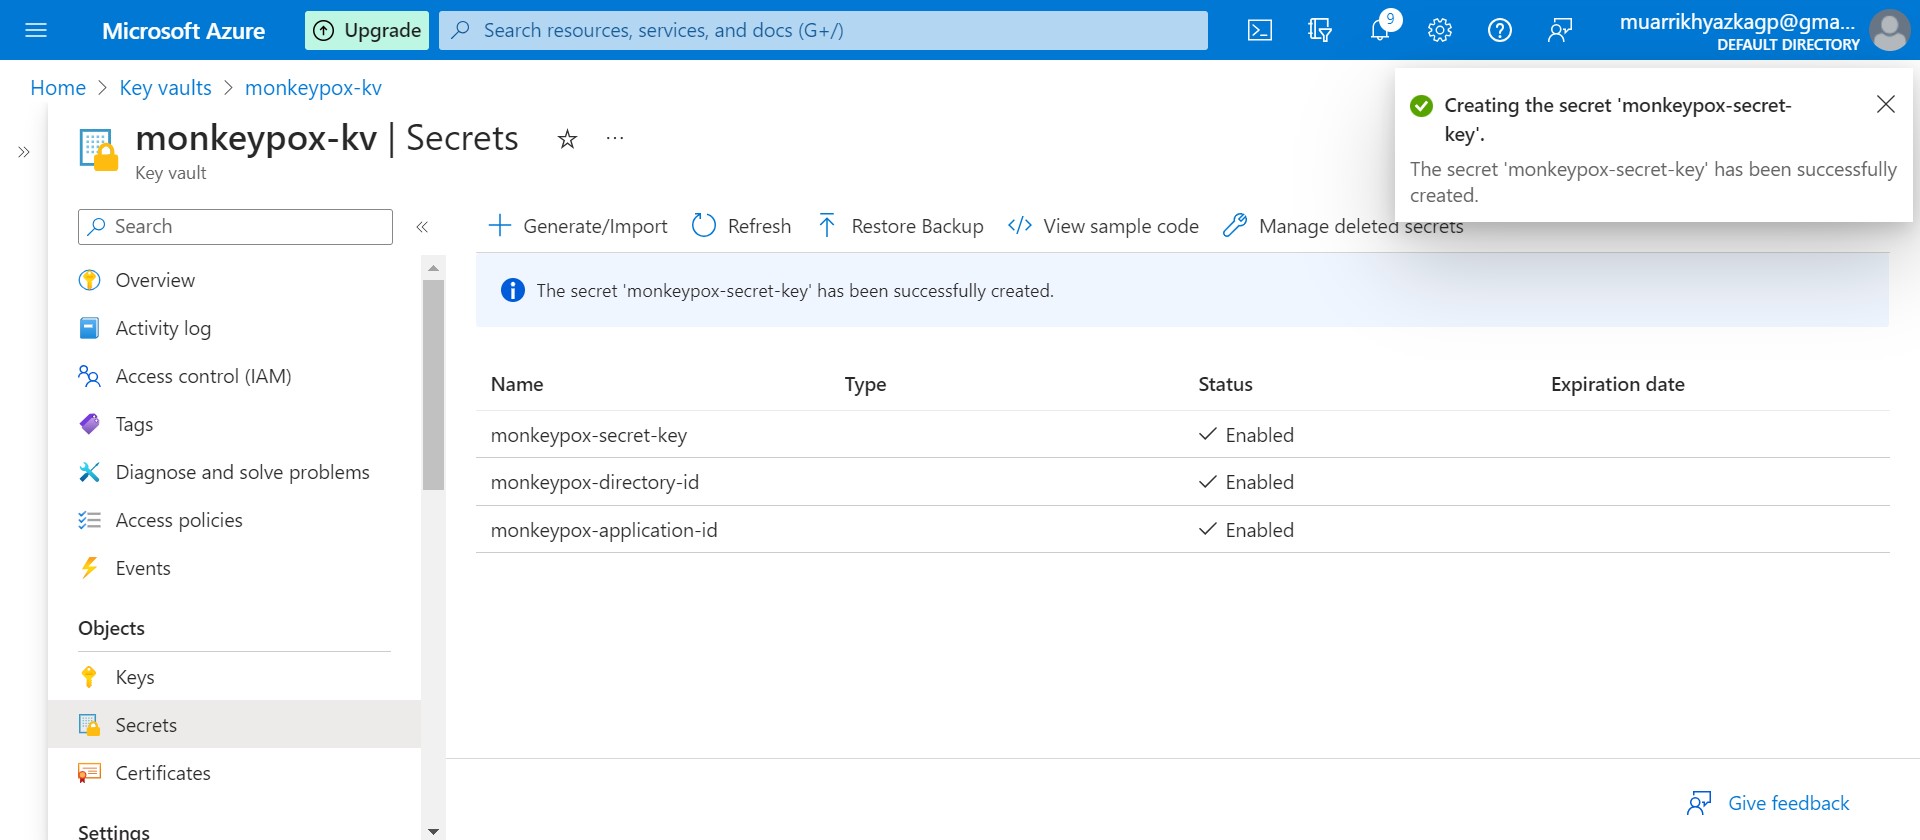
We should make it one by one until 3 secrets created there.
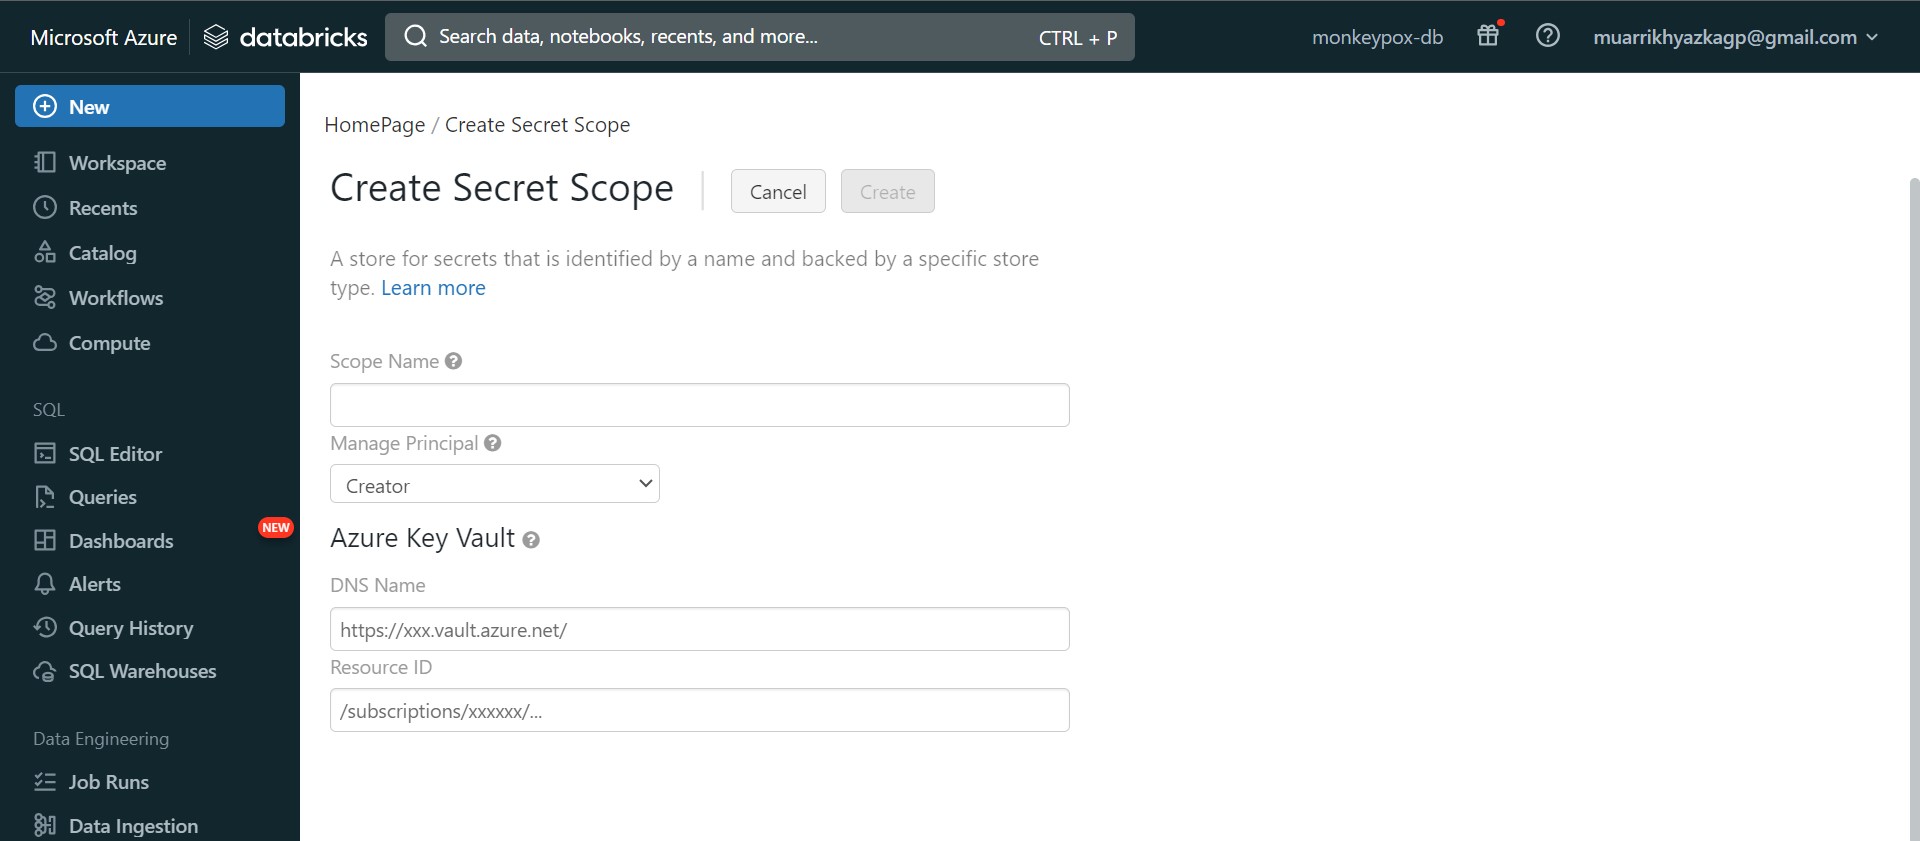
Next, we need to make connection between Key Vault and Azure Databricks. Go to https://{your databricks link}#secrets/createScope. Name it up to you and put the code/informatrion from key vault. Put the Vault URI code into DNS Name box and Directory ID into Resource ID box. Click Create button then.
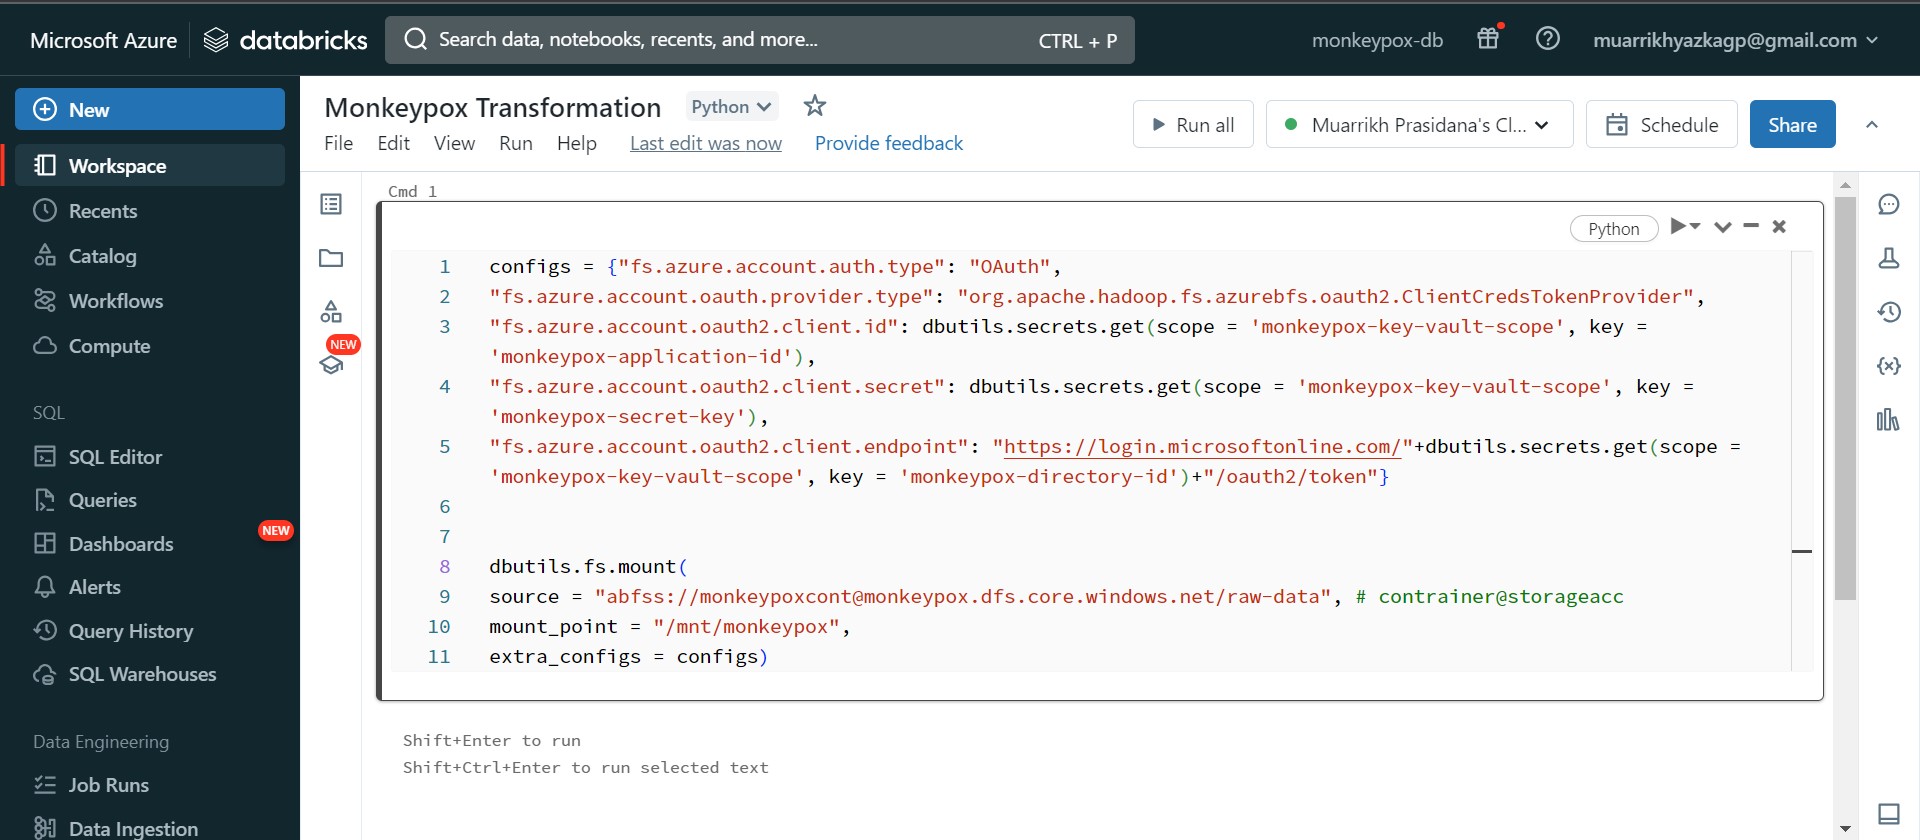
Go back to workspace and create notebook. Type all code. dbutils.secrets.get(scope={put your scope name that we've created on databricks}, key={put your secret description/name on key vault}). Those command to take the credential that we've put on Key Vault Secret. All these code run to build mount/connection between Azure Databricks-App-Storage Account.
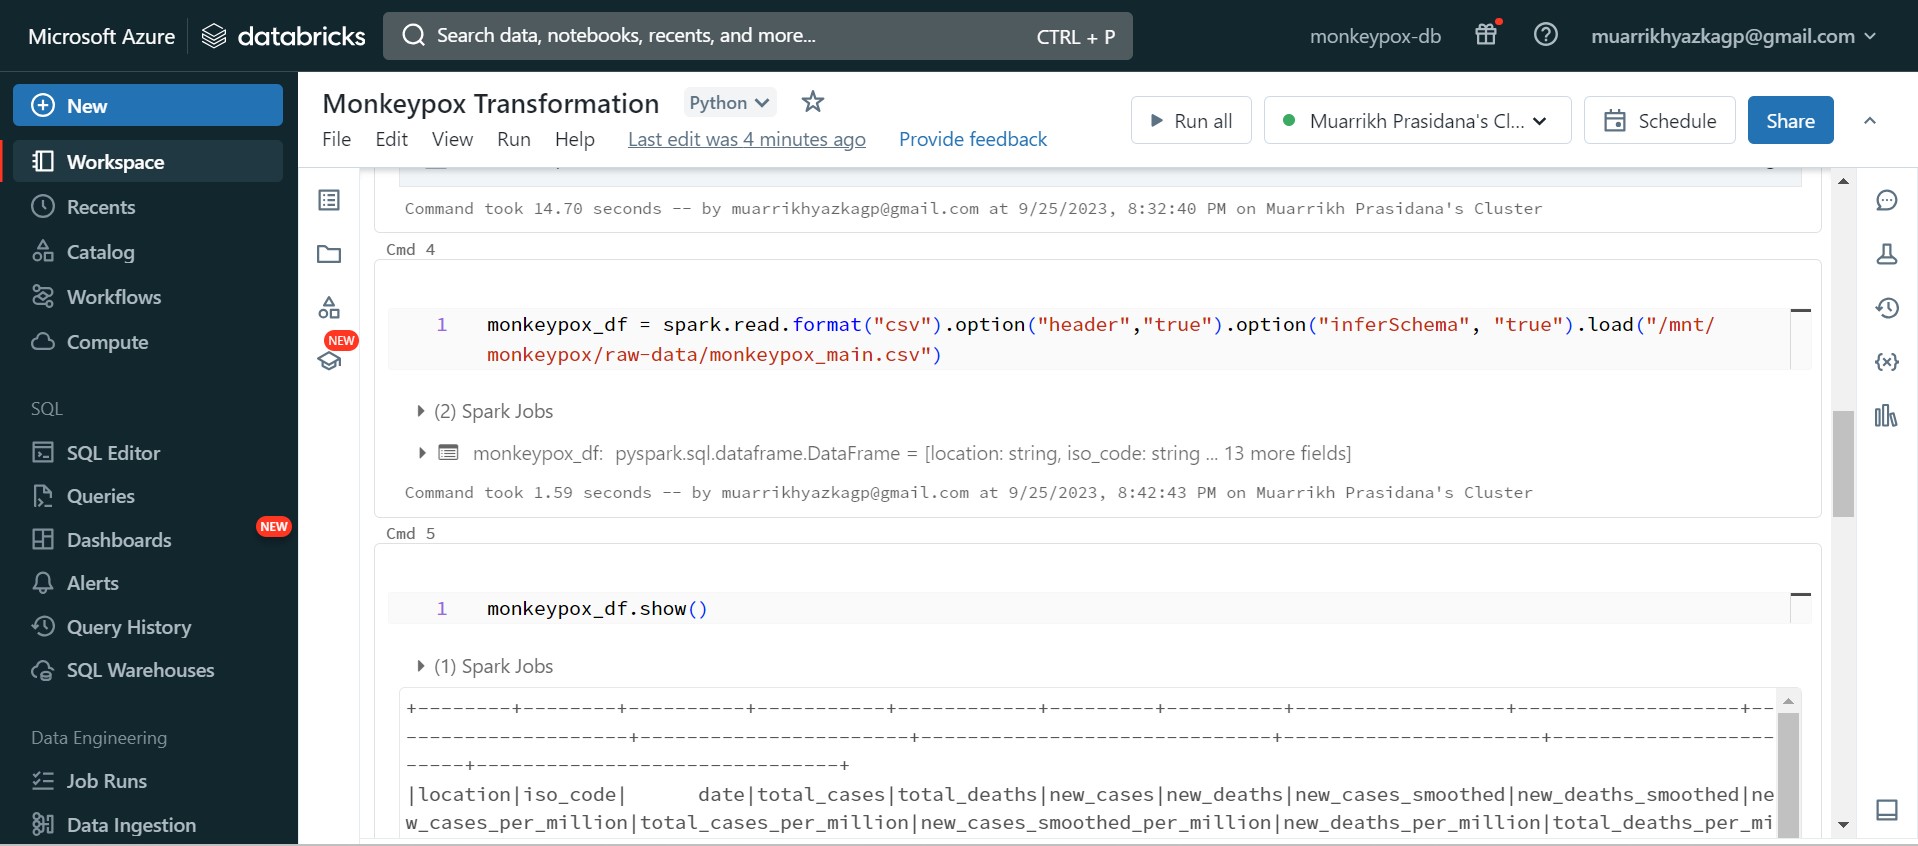
After mounting succesfully built. We can read any data from storage account here, these are the code to read the data using spark. Actually in here I do some transformations such as adjust data type and fill empty values.

After some transformations, we store the data into storage account but different directory with the raw data.
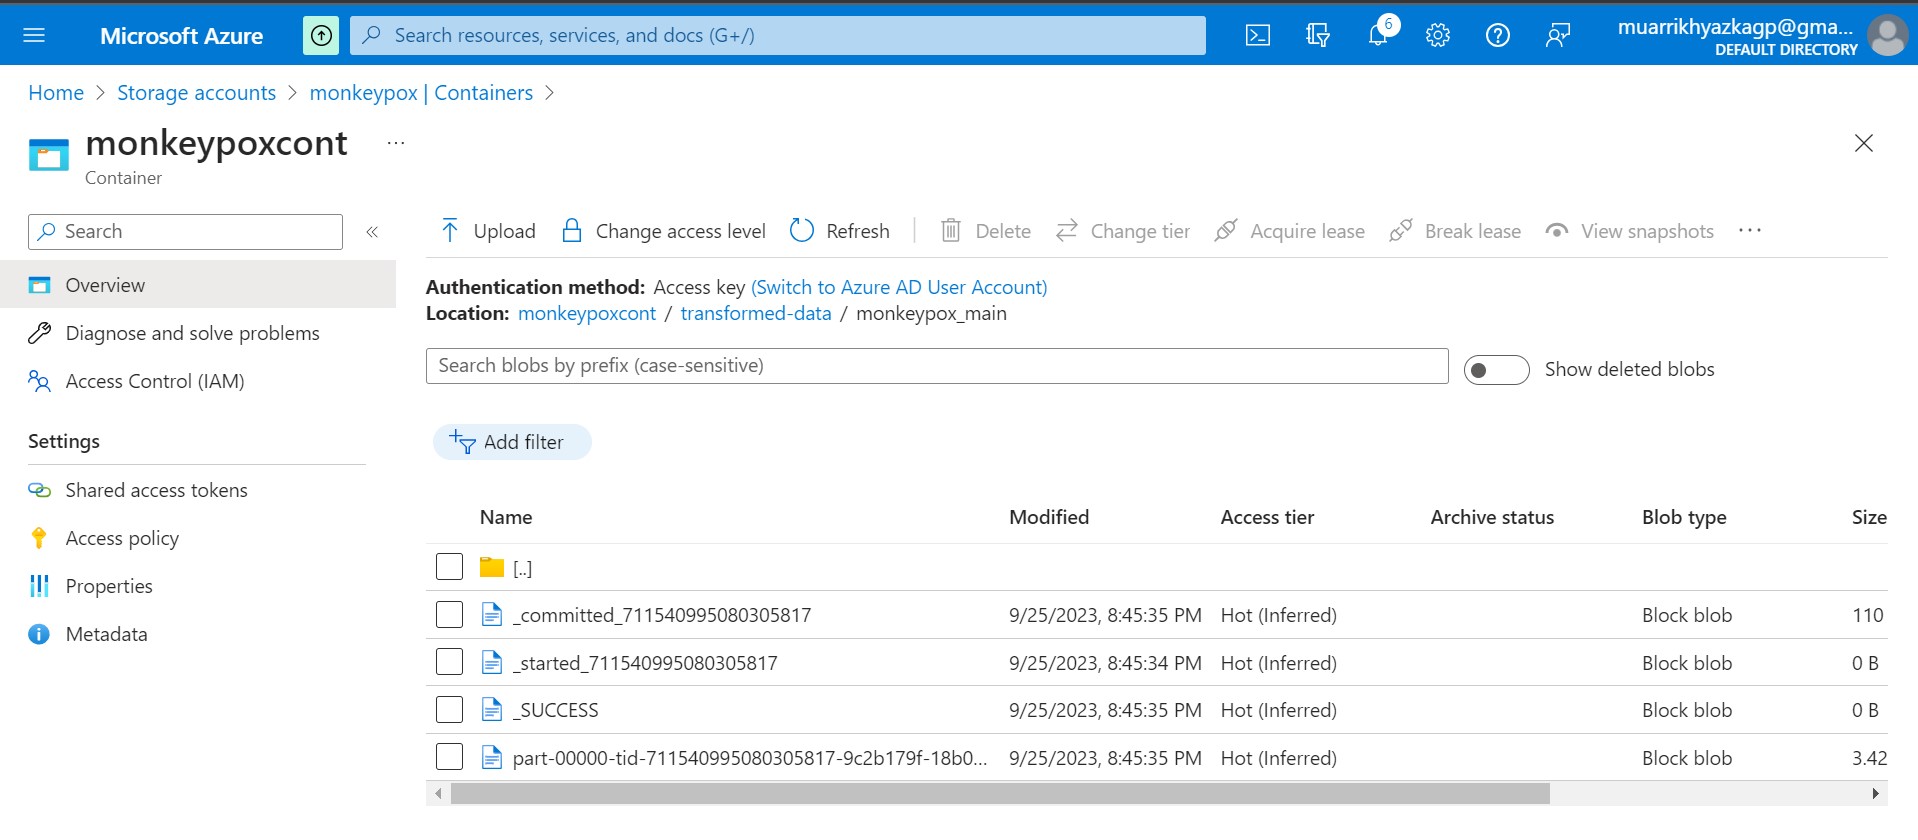
Here is the result on storage account. Data exported from spark is always contained with other files as well. Our data is on file named 'part...'. It can be multiple file depends on the partition configuration on spark.
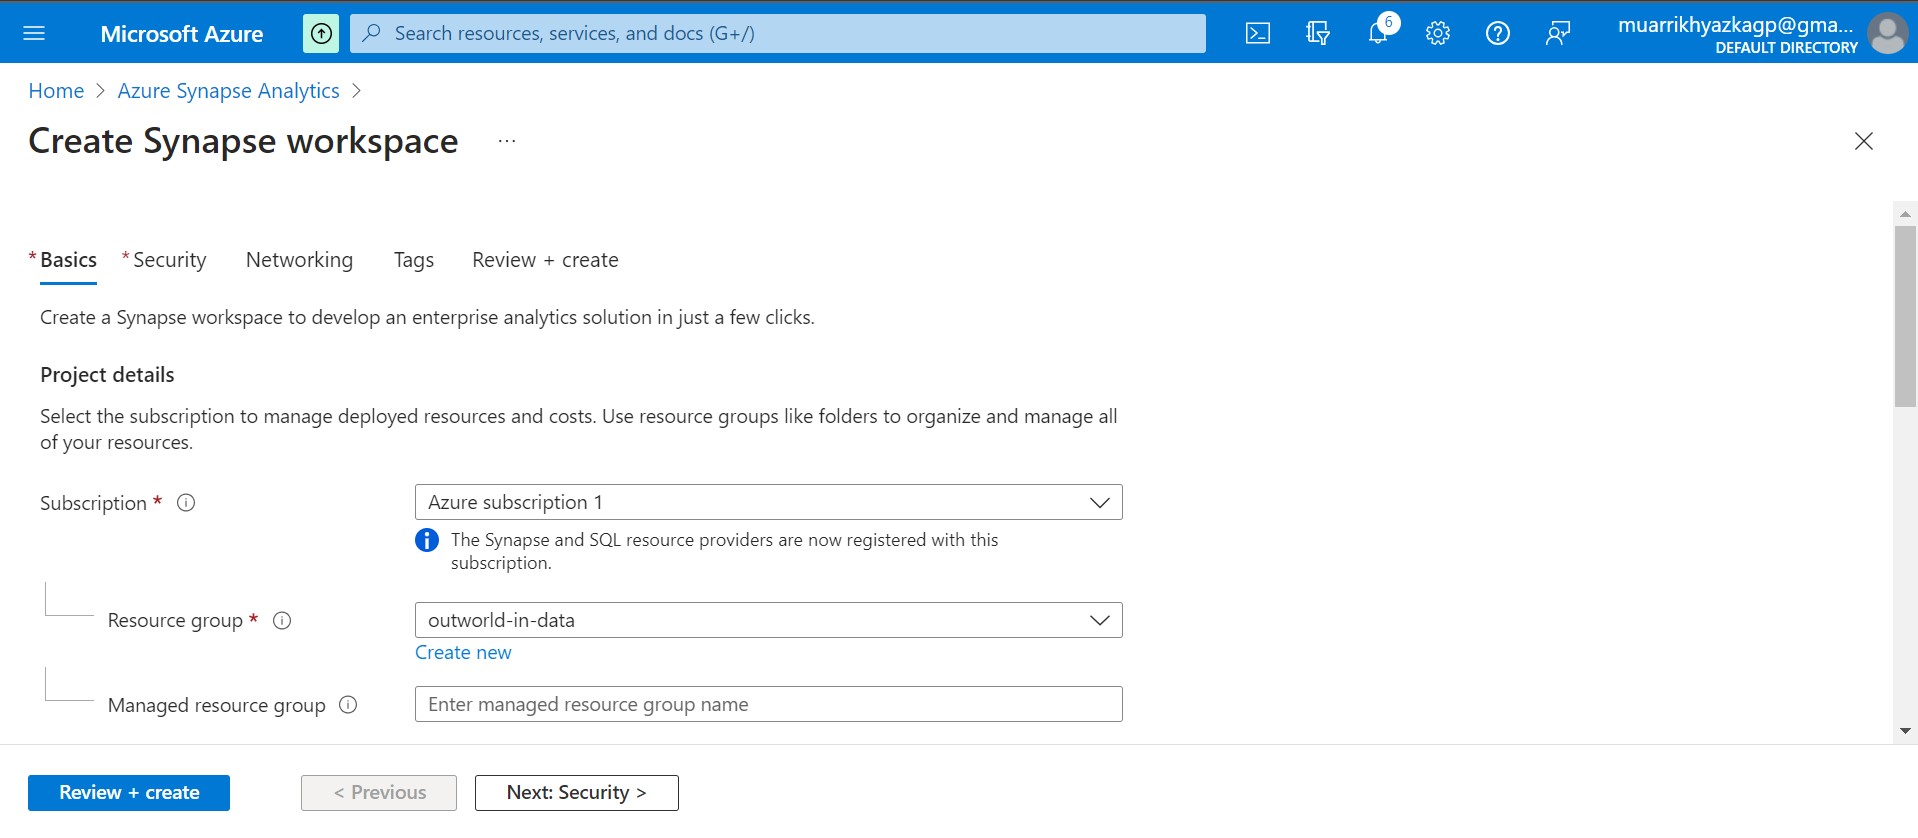
Azure Synapse Analytics have same function with Azure Data Factory plus some Data wrangling and analytics function. We will create Azure SYnapse Analytics workspace for the next phase. Make sure have the same region with other esource.
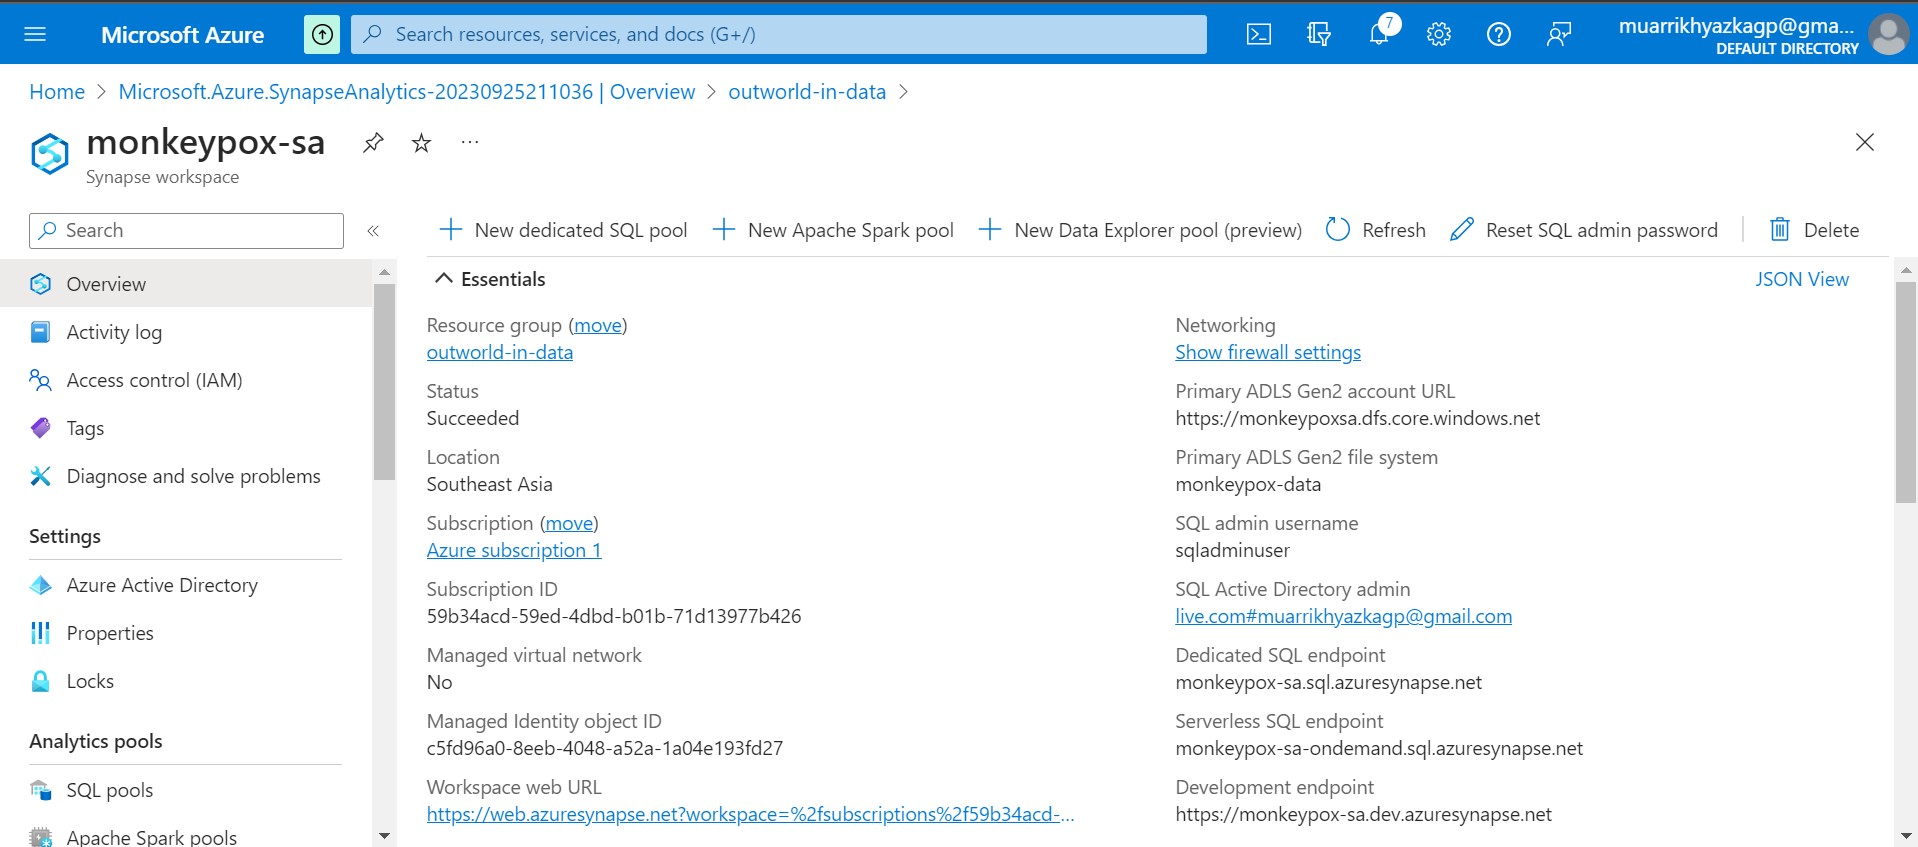
After Azure Synapse Analytics workspace created, on Overview tab click Open Synapse Studio. It will redirect you to new tab.

Basically it has the same UI with Azure Data Factory. Click plus icon and create external table from data lake.
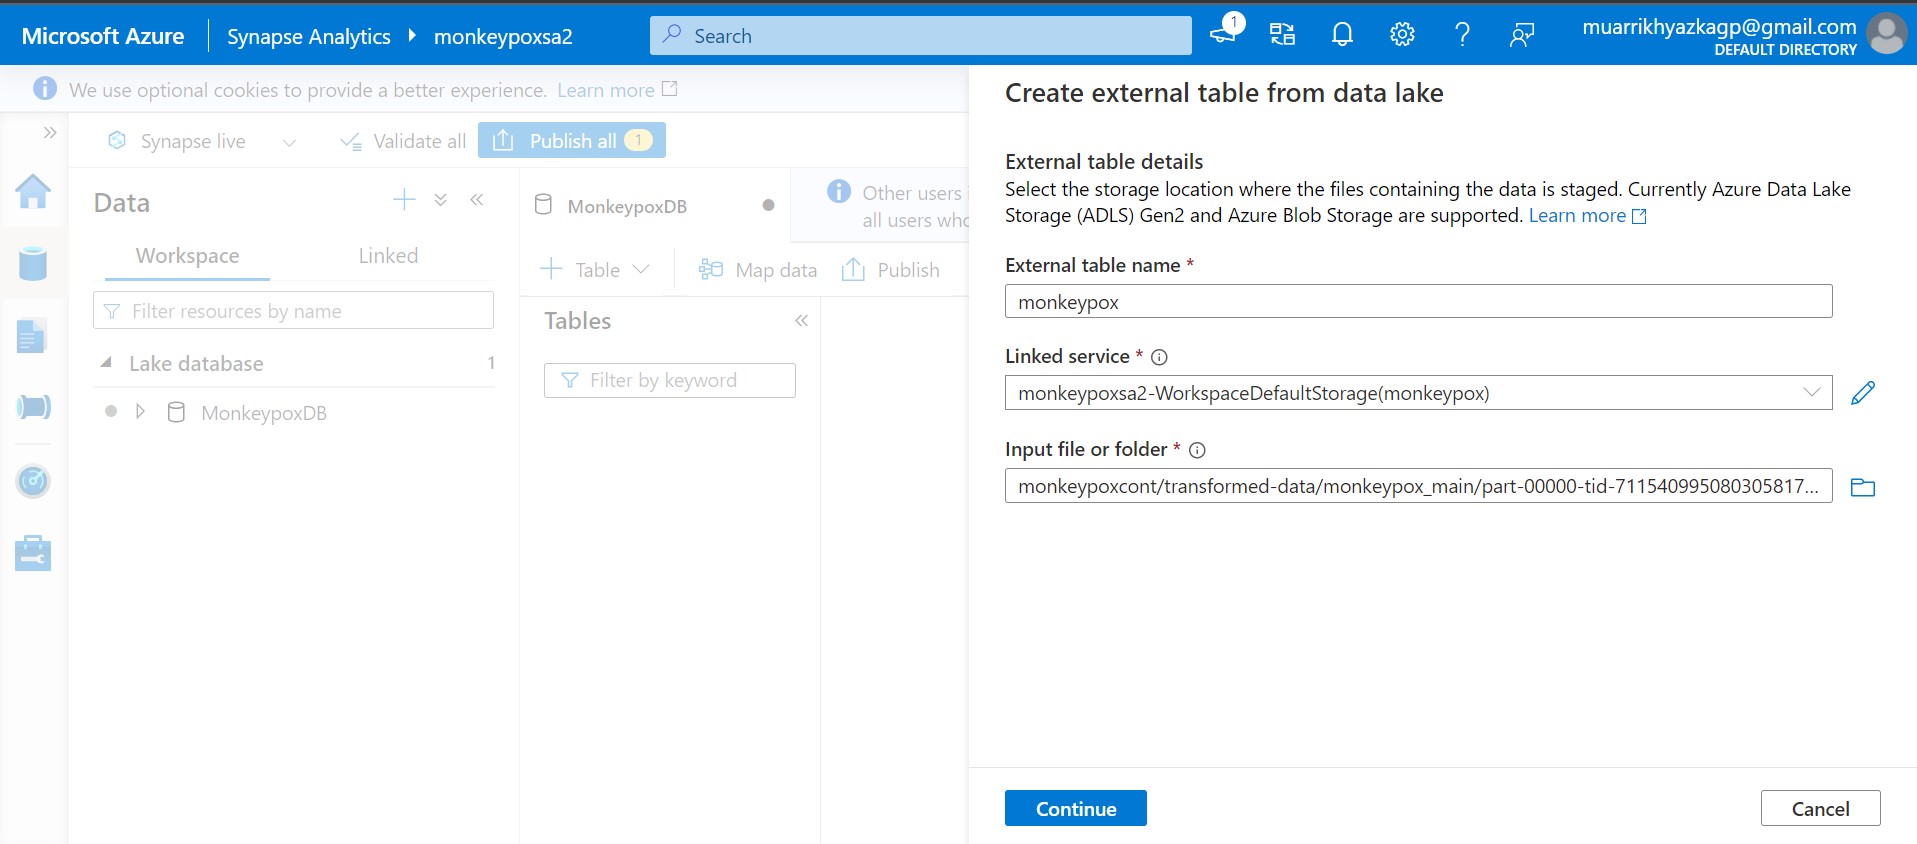
Put table name up to you. On linked service and input file or folder box bring it to your storage account which is used to store spark exported data.
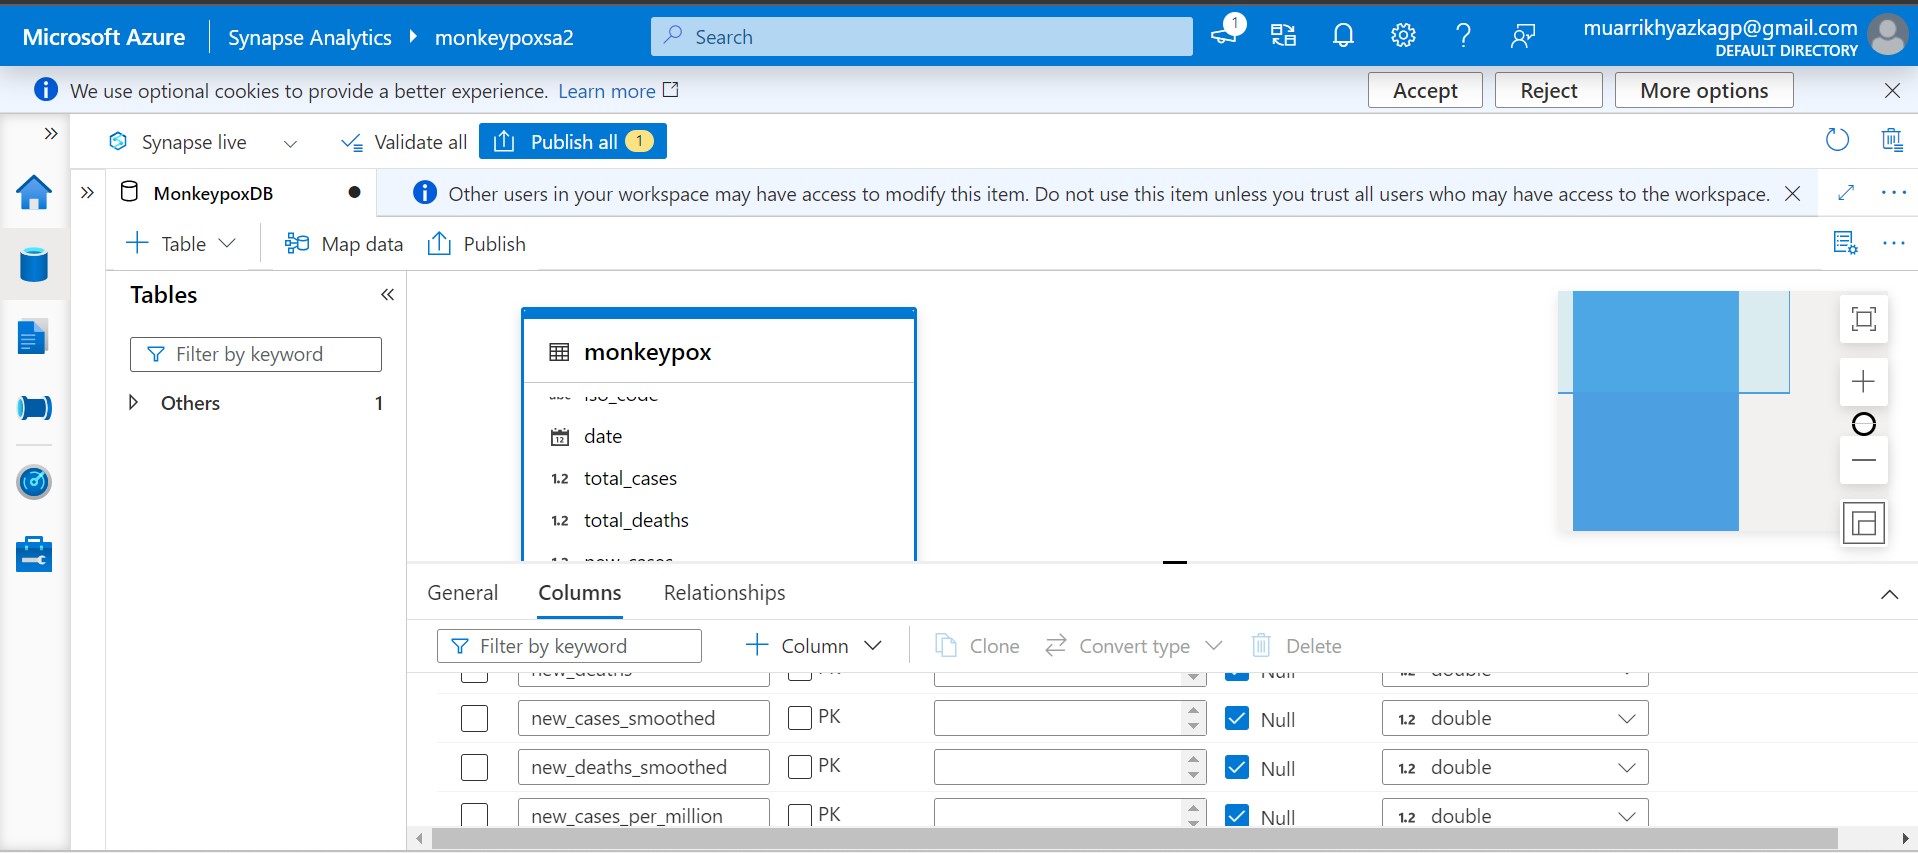
Azure Synapse Analytics will automatically read the data with its right data type.
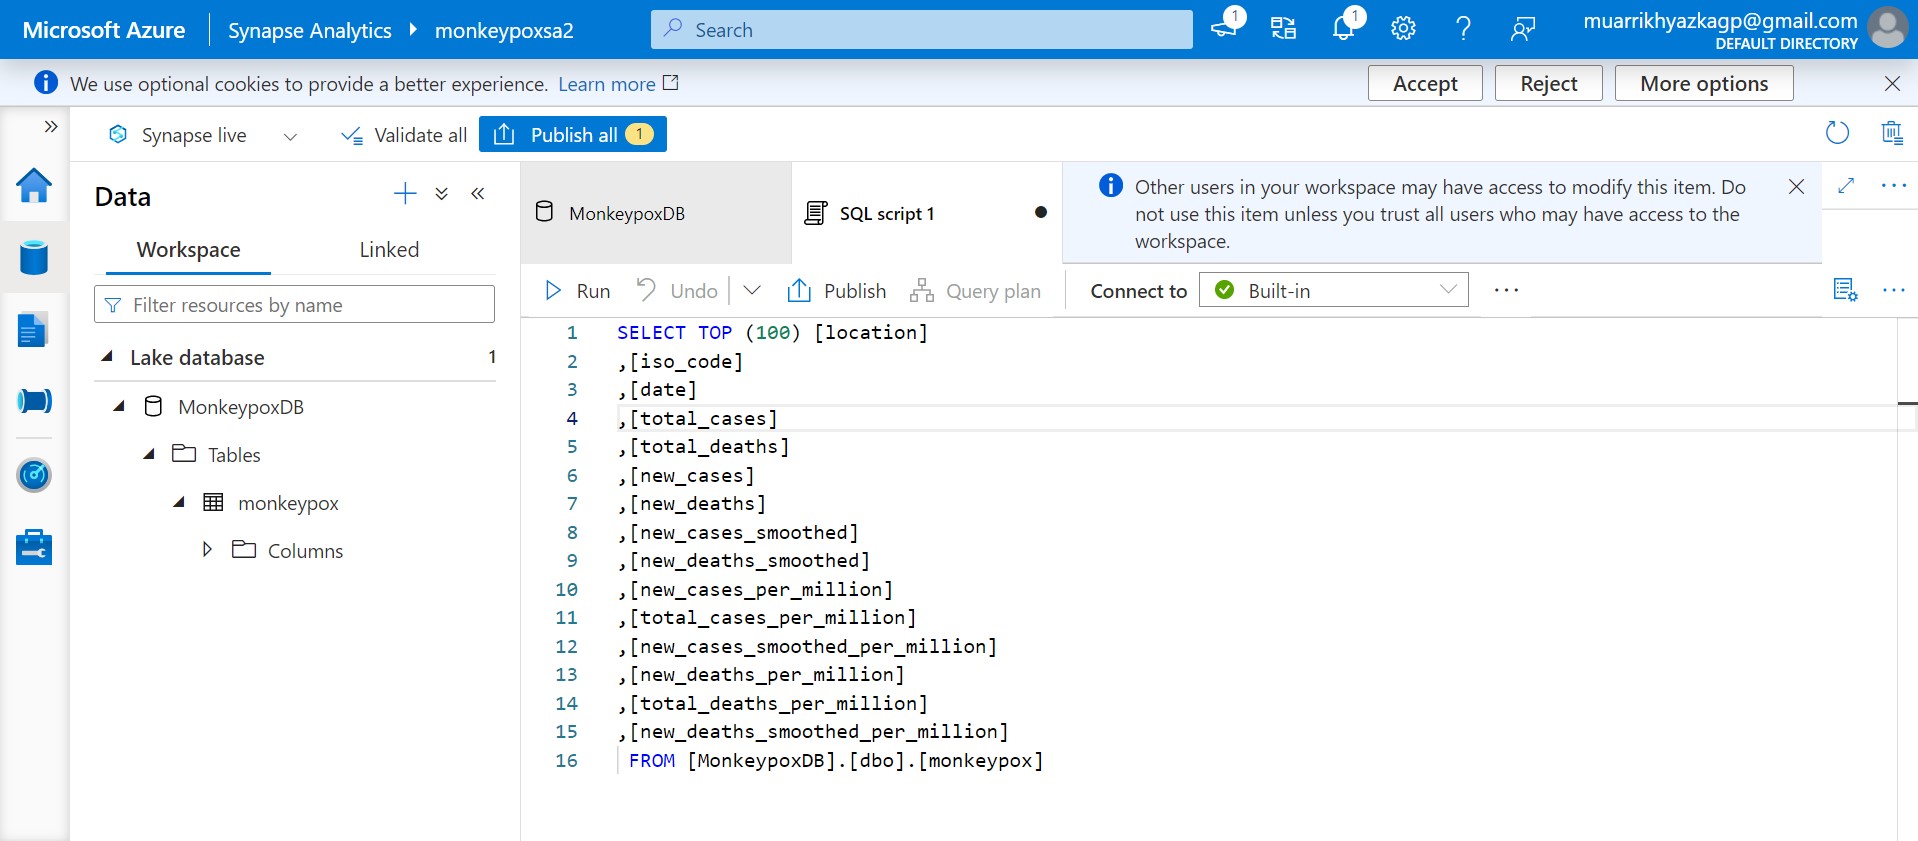
You can run SQL Script here.
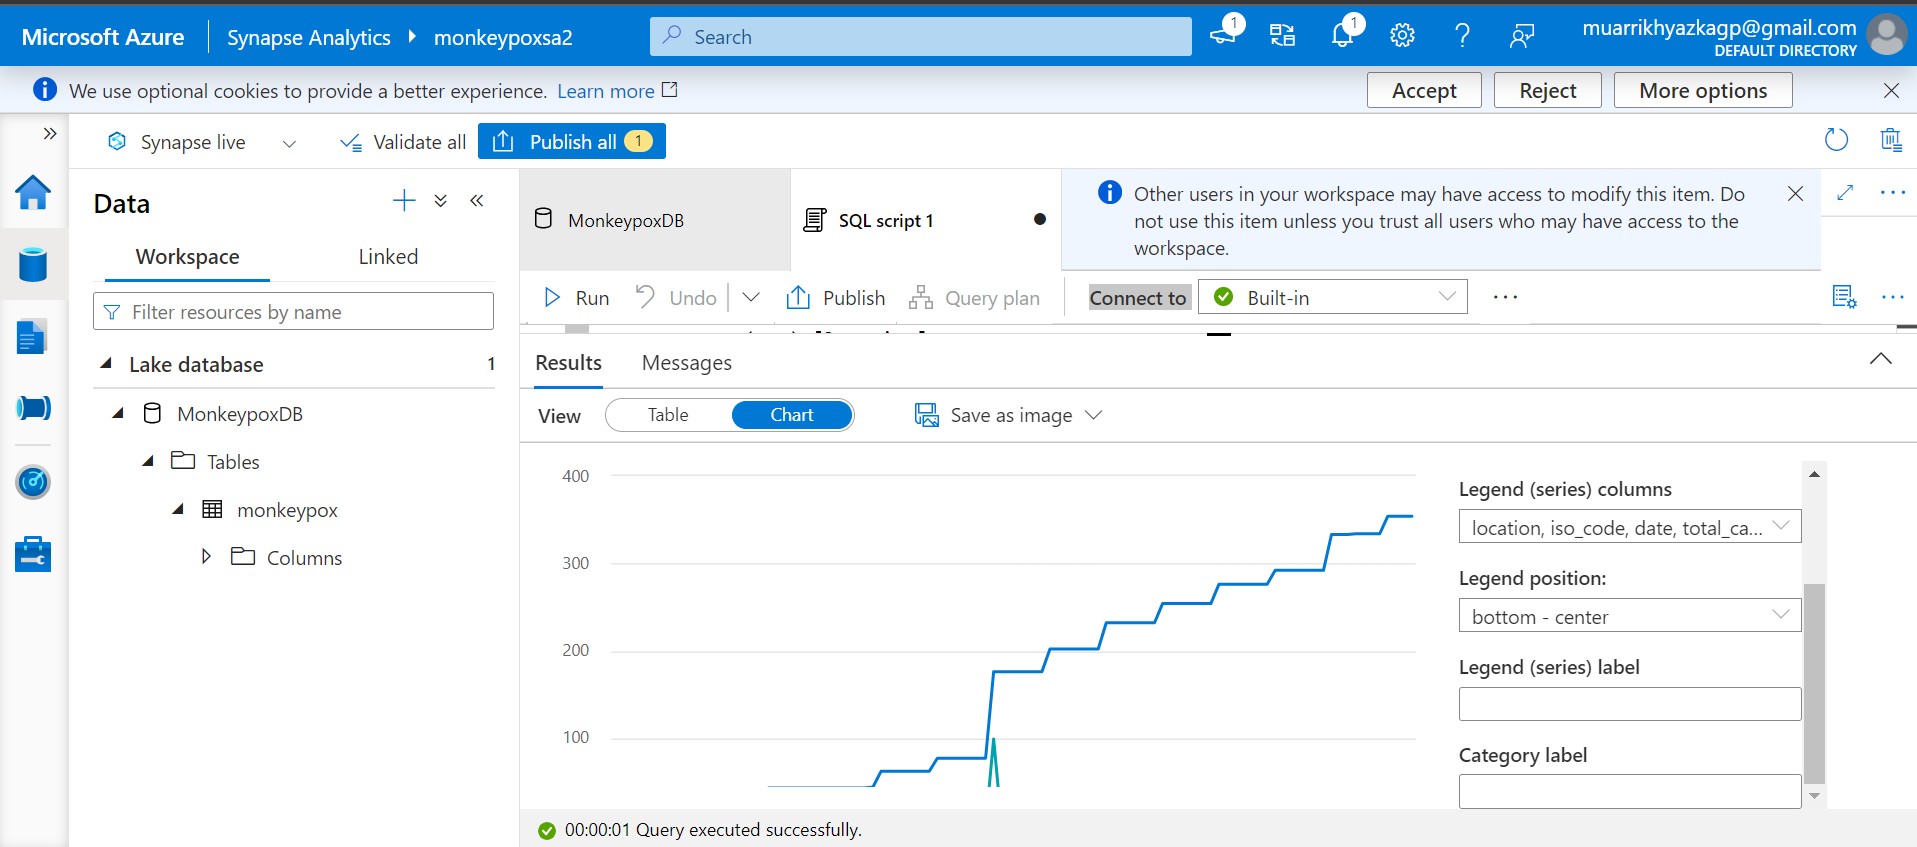
You can build chart as well here. Azure Synapse Analytics is a perfect and easy tool to wrangling and explore the data. Actually from here you can consume the data and bring it to any visualization platforms such as Power BI, Tablea, Looker, etc.